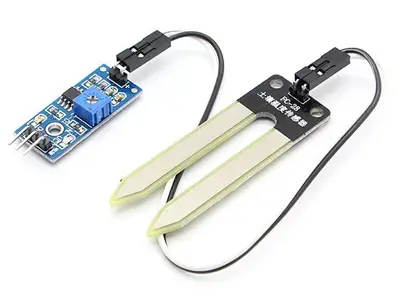
What is an FC-28 hygrometer?
An FC-28 soil hygrometer is a sensor that measures soil moisture. They are widely used in automatic irrigation systems to detect when it is necessary to activate the pumping system.
The FC-28 is a simple sensor that measures soil moisture by the variation of its conductivity. It does not have the precision to make an absolute measurement of soil moisture, but it is also not necessary to control an irrigation system.
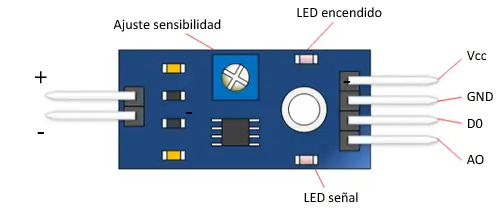
The FC-28 is distributed with a standard measuring plate that allows obtaining the measurement as an analog value or as a digital output, activated when the humidity exceeds a certain threshold.
The values obtained range from 0 when submerged in water, to 1023 in the air (or in very dry soil). Slightly moist soil would give typical values of 600-700. Dry soil will have values of 800-1023.
The digital output triggers when the humidity value exceeds a certain threshold, which we adjust using the potentiometer. Therefore, we will obtain a LOW signal when the soil is not moist, and HIGH when the humidity exceeds the set value.
The specific value will depend on the type of soil and the presence of chemical elements, such as fertilizers. In addition, not all plants require the same humidity, so it is best to do a small calibration in the actual field.
Price
The FC-28 moisture sensor is really cheap. We can find it for €0.85 from international sellers on eBay and Aliexpress.
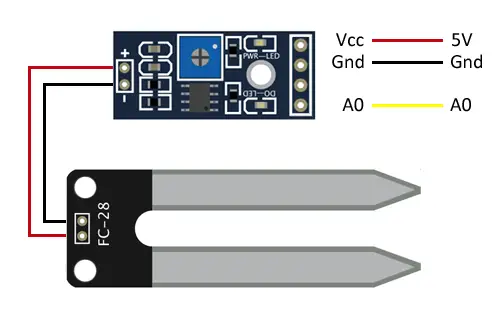
Assembly diagram
The electrical diagram is simple. We power the module by connecting GND and 5V to the corresponding pins on the Arduino.
Now, if we want to use the analog reading, we connect the A0 output to one of the Arduino’s analog inputs.
While the connection from the Arduino’s point of view would look like this,
If we wanted to use the digital value, which is adjusted with the potentiometer on the plate, we would instead connect the D0 output of the sensor to a digital input of the Arduino.
Code examples
The necessary code is really simple. If we are using the analog signal A0, we read the value through the analog input, and use the serial port to display the value on the screen. In a real case, this value would be used to perform actions, instead of displaying the value.
const int sensorPin = A0;

void setup() {
   Serial.begin(9600);
}

void loop()
{
   int humidity = analogRead(sensorPin);
   Serial.print(humidity);

   if(humidity < 500)
   {
      Serial.println("On");
      //perform necessary actions
   }
   delay(1000);
}
If we are using the digital signal, we use a digital input to read the state. In the example, we show a message on the screen, but likewise in a real case we would execute the appropriate actions.
const int sensorPin = 10;

void setup()
{
   Serial.begin(9600);
   pinMode(sensorPin, INPUT);
}

void loop()
{
   int humidity = digitalRead(sensorPin);

   //send message to serial port based on the value read
   if (humidity == HIGH)
   {
      Serial.println("On");
      //actions would be executed here
   }
   delay(1000);
}
Download the code
All the code from this post is available for download on Github. 
