We start a new and very fun project that is not particularly difficult, converting a toy tank into a robot tank with Arduino.
We have a parallel project on how to build a chain robot controlled by Arduino, where we are playing with different alternatives to create a chain robot from scratch, with an invented, fun, and even bizarre configuration.
But, as we said in the first post, while building a robot with a configuration designed by ourselves is very fun, if what we want is an authentic all-terrain vehicle it is simpler and cheaper to use the scale tank chassis.
After all, real tanks are shaped the way they are for a reason and military designers are not exactly stupid. They are designed with features (low center of gravity, width, length, geometry…) that allow them to overcome obstacles and move through complex terrains.
When we buy a tank toy on a real scale, we will have a well-designed chassis with integrated motors. Being a consumer product, its price is very low. And, while we are at it… it looks really cool!
Then we will remove its electronics and add ours. The biggest problem will be how to add encoders (because by now we know that a robot without encoders is not a robot, right?) but don’t worry, we will see some tricks :).
As usual in projects, in this first post of the robot tank project series with Arduino we will see options, alternatives, and budgets. In the following posts, we will see assembly, electrical connection, and programming.
Looking for a radio control tank
The first mission of the project will be to find a cheap toy. And it’s not as easy as it seems because there is a wide variety of toys and all price ranges you can imagine, from a few euros to a few hundred.
Our search begins on eBay, AliExpress, or similar. We try terms like “tanque juguete” (tank toy), “tank toy”, “tanque rc” (tank rc), “tank 1:24” or “tank 1:24” (1:24 is the scale of the tank) and play a lot with the filtering options by price, sorting by sales. We also do a lot of searches and related articles.
We start with the first option, which is to buy only the tank chassis. These are sold as spare parts or parts for larger robots, and logically, it is cheaper than buying the whole tank.
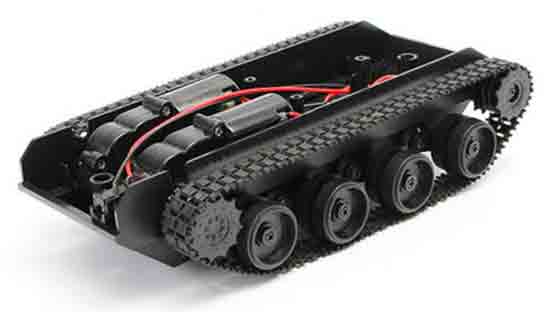
So, for example, we can find one like this for about 12€, with a length of 185mm. The bad thing about this chassis is that it is somewhat small. With the batteries and the electronics, we will be very tight on space, and surely we will have to assemble two floors of electronics.
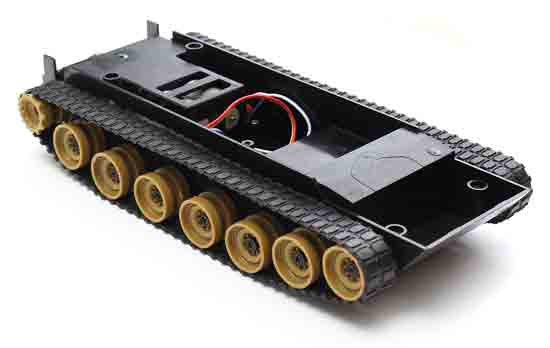
Moving on to a larger one, for about 14-15€ we can find a chassis like the following, with a length of 220mm and much more space for our electronics.
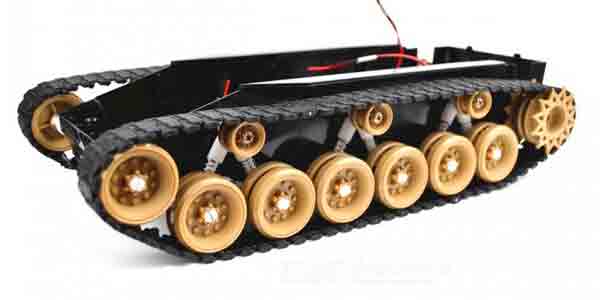
If we go for something bigger, we have this other one for approximately 17€. In addition to being larger, 300mm, it incorporates a suspension system in the wheels. This type of chassis is a very good base for building a robot tank.
Of course another option we have is to buy the entire toy tank. Here we will find all sizes and prices. Some even with a mechanism that shoots little balls in the cannon (although they are very expensive).
The cheapest I have found are some RC tanks with an infrared LED in the cannon and a sensor in the turret so that several tanks can play “shooting” at each other. They have light effects and everything, so cute! Too bad we are going to remove all of its electronics evil laugh.
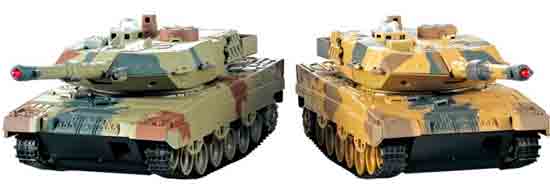
We can find different models of tanks for about 25-28€, such as the German Tiger from the Second World War, or modern ones like the European Leopard 2 A4, the American M1 Abrams, or the Russian T90. If you like tanks, it will be hard for you to choose a model for your robot.

You can also find a pair of tanks like the previous ones for about 36€. This leaves the price of each tank at 18€, which is a very cheap price for a robot base. You can buy it between two makers, or give the extra tank to your nephew for his birthday XD.
These are the best options I have found, but it is possible that I have missed some. Also, models and offers appear and disappear. Stay tuned and spend some time searching because there are many options available.
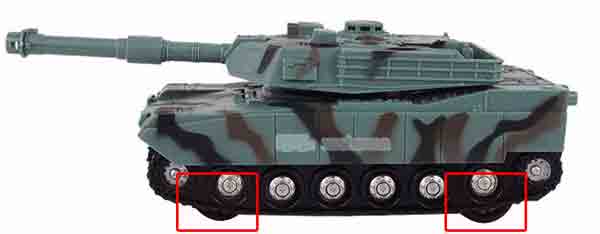
Finally, be careful with some of the cheapest radio control tanks (12-14€ complete) that do not actually have chains. The chains are simulated on the plastic casing (fixed) and to move they use four small wheels on the bottom of the tank. And that is not useful for us at all.
Budget
Well, let’s see how much this robot tank project costs approximately. First, as we always say in projects, the one we are going to see is one of many possible configurations. The fun part is for you to make the one you want, and change it as you like.
So we could have a basic configuration only with the chassis and what is necessary to move, which would consist of the following.
- Chassis 30cm 17€
- Motor controller L298N 2€
- Arduino Nano 2€
- 2x lithium battery type 16650 and battery holder 6€
That is, the minimum to assemble a mobile platform based on a tank chassis for about 28€ (including breadboard cables, etc).
Now we can add the extras and sensors we want (and this list could go on forever).
- Distance sensor (ultrasonic, infrared, or laser) 2 - 3€
- Optical encoders 2€
- Bluetooth 2€
- Gyroscope + magnetic compass 3€
So for about 35€ we have a really well-equipped robot tank (only chassis with our electronics) with sensors and controllable by Bluetooth (from the mobile, or PC, or whatever you want).
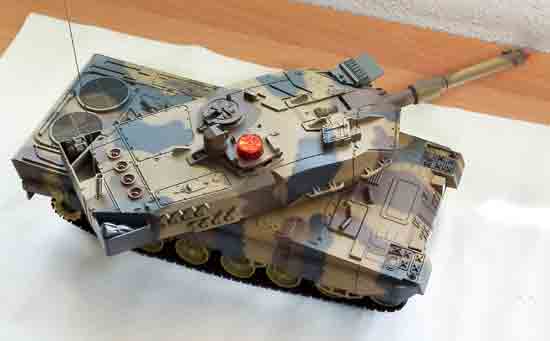
In my case, I bought the whole tank. To begin with, because at the time the previous chassis did not even exist, and secondly, because I wanted to put a green laser in the cannon. Why? Because everything is cooler with a laser. Here is the poor thing, ready to be dismantled and improved.
So the project we will see in this series includes all of the above plus the following components.
- Servo MG996R for turret 4.5€
- Servo SG90 for cannon elevation 2€
- High power green laser 8€
So the project is around 55€. In this post, we will see the complete tank because it is the one I have logically. But the part of the turret and laser is totally optional, and basically was an extra to make it more fun.
The important thing is that for 35€ you have a really interesting robot tank, with a mobile platform based on a toy tank, electronics to give it considerable intelligence, and controllable by Bluetooth. But remember that the configuration is totally customizable to your liking.
In the next post in this series, we will see the assembly of the robot. But to get started, I’ll leave you with some videos of how this tank behaves (the video on the table is from before it became a robot, but the movement after is exactly the same).
