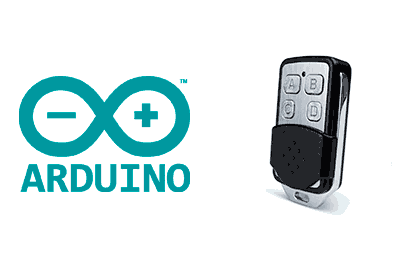
In this post, we are going to see how to copy a 315/433Mhz radio frequency device with a processor like Arduino. A (worryingly) simple process that can be useful in many situations.
RF devices at 315 or 433 Mhz are very common, for example, in some wireless remote controls (some air conditioners), lighting control, in cheap sensors and alarms, among others.
Copying a 315/433Mhz RF device can be of interest on multiple occasions, such as being able to operate a machine that has an RF remote control remotely (WiFi), adding a timer, or integrating them into a home automation or IoT installation.
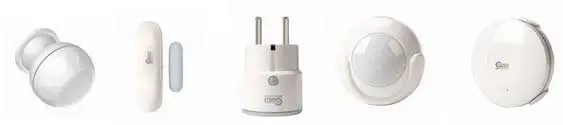 Another interest lies in being able to capture signals from RF sensors (for example, those from the cheap alarms we mentioned). These sensors are very cheap and highly optimized to run on batteries for several years. Reading them allows adding sensors to our home easily. For example, we can add a motion, door, or window sensor to turn on a light.
However, we warn you that it will not work with all remotes. Especially, it will not work with those remotes with higher security (for example, garage door openers) that use security mechanisms like Rolling Code, precisely to prevent them from being copied.
In some countries, it is illegal to clone RF devices (even your own). Check the current legislation in your country before applying the content of this post.
Clone a 315/433 RF Device
The procedure to copy a 433Mhz RF device is very simple. We will only need a cheap 1-2€ receiver and transmitter, as we saw in the post Wireless Communication in Arduino with 433Mhz RF Modules.
The result will be even better if we use a CC1101 as we saw in this post which operates at 3.3V and is especially suitable for projects with ESP8266 and ESP32.
To read the data sent by the RF device, we will use the RCSwitch library available at https://github.com/sui77/rc-switch/. For it to work, we must connect the data output of the receiver to pin D2 of Arduino, as the library uses interrupts to detect the code.
We open the ReceiveDemo_Simple example from the RCswitch library and load it into Arduino. Then, activate the RF device (press the button, trigger the sensor, etc.), and we will see output like the following.
If we haven’t added an additional antenna (they cost a few cents), we may need to place the receiver very close, less than 10cm.
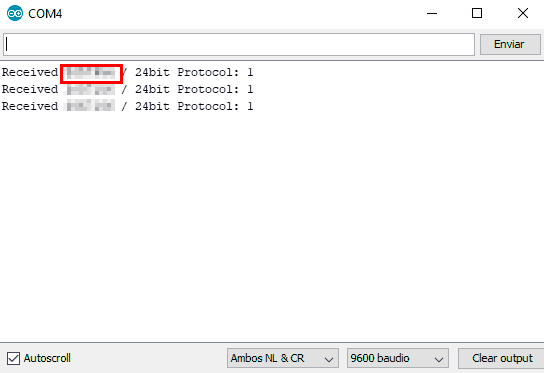
That easy. That’s the code your device sends when activated. Now we can make a Sketch that checks the received code against those of our devices, to perform the actions we want when the RF device is activated.
Emulate a 315/433 RF Device
If we now want to “act” as the remote, we simply have to load the following Sketch and change the data to what the RF device sent in the previous section.
#include <RCSwitch.h>

RCSwitch mySwitch = RCSwitch();

// Replace with your code
unsigned long code = XXXXXXXX;

void setup()
{
  Serial.begin(9600);
  mySwitch.enableTransmit(2);
}

void loop()
{
  mySwitch.send(code, 24);
  delay(200000);
}When running the Sketch, the Arduino will send the same code as the original device, and the same actions will be performed. That easy!
As we can see, it is very easy to clone and emulate a 315/433Mhz RF remote with a processor like Arduino (almost scary, huh?). And this is why you should never trust something that really requires security to these simple 315/433Mhz remotes, anyone can copy them in seconds.
However, it is a very useful functionality when it comes to home automation, converting existing devices to IoT, or adding wireless sensors to your project.
Download the Code
All the code from this post is available for download on Github.

