Configuring Raspberry Pi means adjusting the operating system so it is ready for our use, whether as a small computer, a home server, a development machine, or an embedded device.
That includes options such as changing language and time zone, enabling interfaces, adjusting the resolution, configuring boot options, or preparing remote access.
In current Raspberry Pi OS versions, many of these options can be prepared from Raspberry Pi Imager before writing the card. Even so, it is very useful to know where they can be changed later, because sooner or later you will end up touching some of them.
Fortunately, configuring Raspberry Pi has become much simpler, because we have graphical and command-line tools for almost everything.
Even so, the command-line configuration method is still available through raspi-config, and it is especially useful if we are using Raspberry Pi OS Lite or connecting over SSH.
We will assume we have a freshly installed Raspberry Pi, so it’s still in English. Therefore, the instructions and windows we see will be in English, to make it easier to follow. By the end of the post, you will have your Raspberry Pi configured and in the language you want.
Configure Raspberry Pi from GUI
As we mentioned, in Raspberry Pi OS the configuration process has been greatly simplified, because we have a configuration window with the most common options.
This window is available from the start menu, under Preferences/Raspberry Pi Configuration.
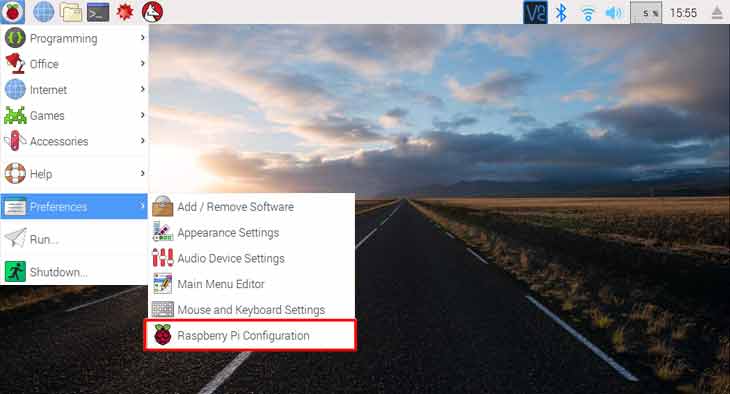
We access a window that has four different tabs.
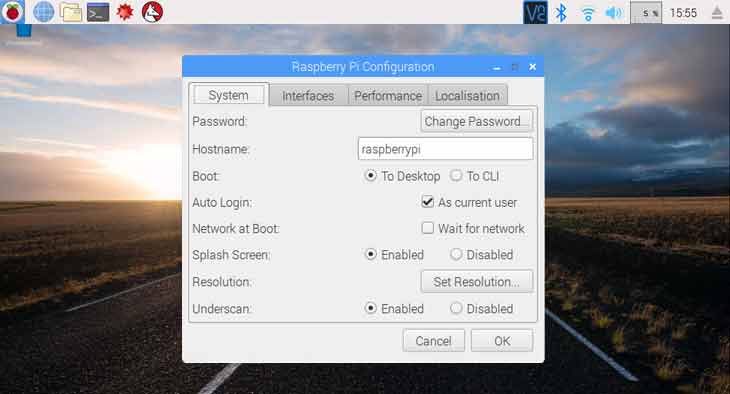
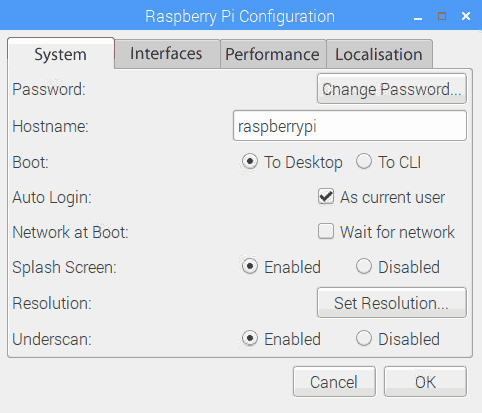
In the first one, we can change the password, the device name, adjust boot options, and change the resolution.
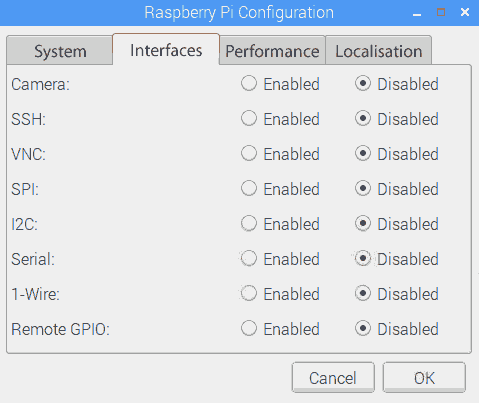
In the second tab, we have the interface options. From here we can enable various very important Raspberry Pi functions like remote access via SSH or VPN, the camera interface, communication buses (SPI, I2C, Serial and 1-Wire), or remote GPIO control.
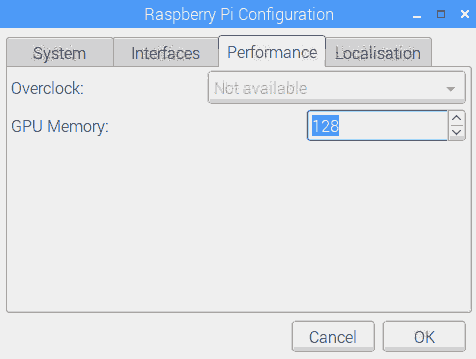
In the third tab, we have the performance options. Basically the option to overclock our Raspberry and change the memory dedicated to the GPU (graphics card).
The fourth and final tab has the localization options and has four buttons. It’s a good idea to go through all four to configure the regional settings of the Raspberry Pi.
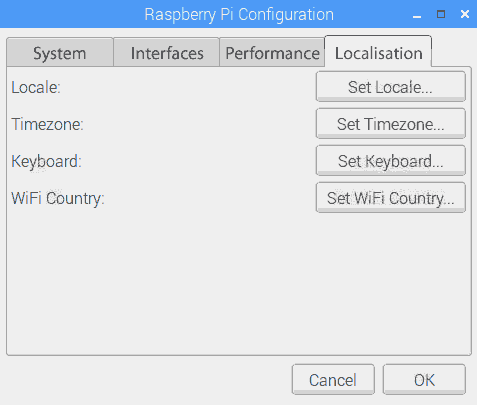
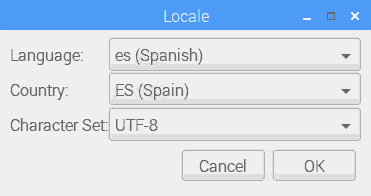
With the first button, Set Locale, we change the language and region of the Raspberry Pi. In the second button, Set TimeZone, we change the time zone.
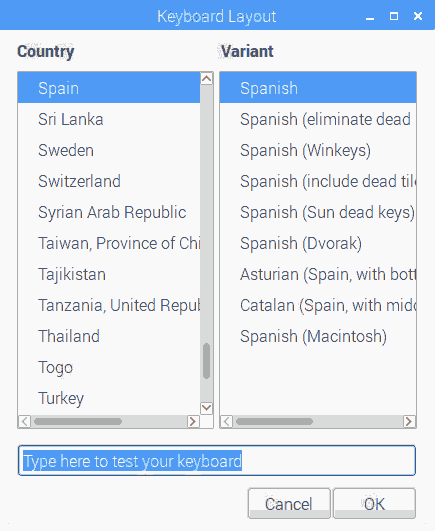
The third button, Set Keyboard, allows changing the keyboard layout (good news for Spanish speakers, we get the letter ‘Ñ’ back)
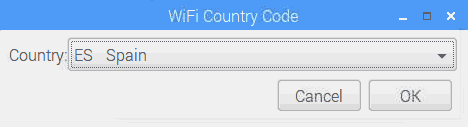
Finally, with the fourth button, Set Wifi Country, we choose our region again. This simply adjusts certain Wifi parameters as some countries have different regulations regarding electromagnetic emission and Wifi channel usage.
Configure Raspberry Pi from Command Line
It is also possible that we want to configure Raspberry Pi from the command line. This could be because we have chosen an OS without a GUI, because we are accessing via SSH, or simply because we like using the command line.
Since the early versions of Raspberry Pi OS, there has always been a console utility to configure Raspberry Pi.
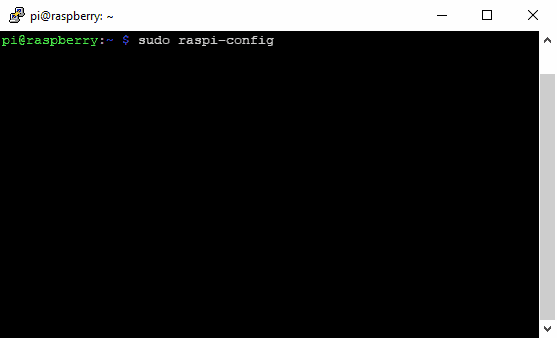
To access it, from a command line, we run the command
sudo raspi-config
A window appears that, basically, has the same options we saw in the previous section for the graphical window.
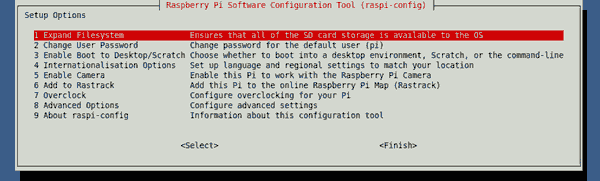
We simply navigate through the different menus and submenus with the cursor keys, and modify the options we want.
With this, we already know the main ways of configuring Raspberry Pi. There is no need to touch every option on day one, but it is worth knowing they exist and where they are, because many tasks in the course will pass through here.