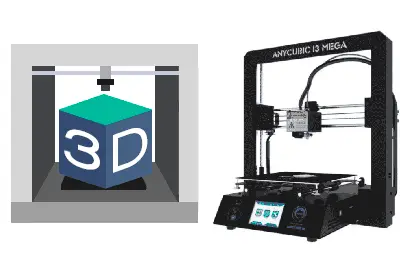
In this post we are going to see how to assemble the Anycubic i3 Mega 3D printer. In the previous post we saw the review of this great 3D printer for the domestic sector.
As we mentioned in the previous post, the simplicity of assembling the Anycubic i3 Mega is one of its strong points. Forget about hours or even days of assembly for your home 3D printer.
Whether it’s your first printer or you’re used to other 3D printers, you might think that a “quick” assembly will take a while. Well, no! Don’t be afraid, you can assemble the Anycubic i3 Mega 3D printer in 5 minutes. Literally.
Let’s go over the complete assembly process. When unpacking the printer we see that it has two main parts, the base and the “bridge”. We only have to screw both parts together and connect the cables.
To do this, we pass the base through the inside of the bridge, and place it in its place. Next, we screw in the 8 screws, 4 on each side, that hold the bridge to the base.
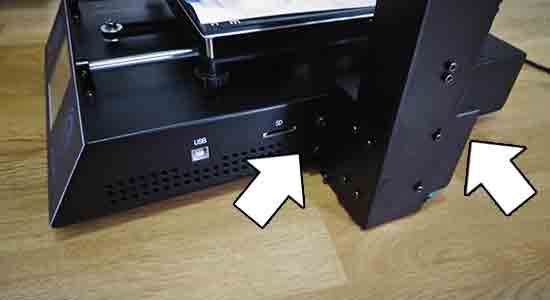
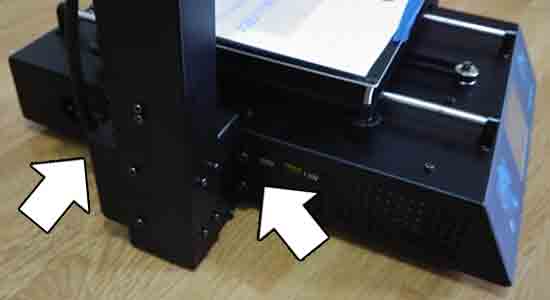
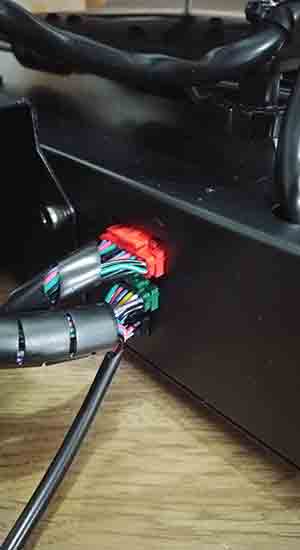
Now we must connect the three printer connection terminals. The terminals are on one side, they are color-coded, and they also come in different sizes. This makes it impossible to assemble it incorrectly.
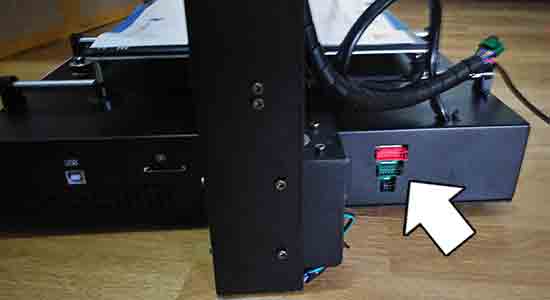
We connect each cable to its connection terminal, following the colors. The three cables come from the print head, the base, and the filament sensor.
Finally, we install the filament spool (the Anycubic i3 Mega comes with a 1kg roll of black PLA) and we thread the cable to the extruder, passing through the filament sensor first.
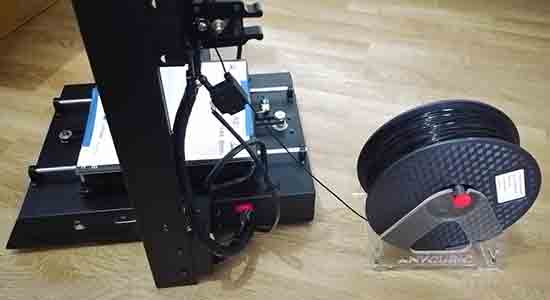
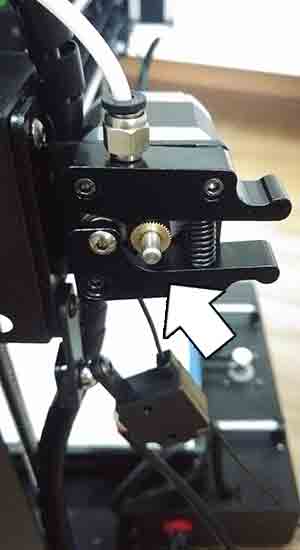
To do this, we have to place the metal sphere of the filament sensor on the magnet under the extruder, and insert the filament following the direction of the arrow on the sensor. Then, we insert the filament into the extruder by squeezing the extruder handle. We insert the filament until it reaches the nozzle.
And that’s it! Just like that, if you’re quick it’s 5 minutes (but it’s okay if it takes you 10, it’s not a race). There’s nothing more to screw, no cables to strip, no parts to adjust. It’s ready to print.
The only thing left is to calibrate the bed. This is another strong point of the Anycubic i3 Mega due to its simplicity. We will see this in the next post in the 3D printing series.
