In this tutorial, we are going to see how to start using Astro by looking at how to create and run an Astro project from scratch.
As we said in the introduction, one of Astro’s strong points is the comfort and simplicity of development. So, you can imagine, creating a project is a very simple process.
So let’s get started. But first, let’s review what we need to have everything ready to start with Astro.
Prerequisites
Before we begin, we need to make sure we have the following installed.
- Node.js: Astro runs on Node.js, so you need to have it installed on your system.
- NPM: The package manager included with Node.js
- Code editor or IDE: I recommend using Visual Studio Code.
That is, more or less the usual tools for any web development. But, in case you are not familiar with some of them, I leave you some links.
Creating a basic project in Astro
Astro provides a command line tool called create-astro that facilitates the creation of a new project.
That is, to start we simply have to open a terminal and execute the following command:
npm create astro@latest
This command will download and install the latest version of Astro and guide you through an interactive wizard to set up your project.

The wizard will ask you several questions:
- Project name: Enter a name for your project, for example,
astro-demo. - Initial template: Astro offers several templates to start with. For this tutorial, we select the
Starter Kit (recommended)option. - Install dependencies: We choose
Yes. - Initialize a Git repository: Choose
Yes(you can choose No, and add it at any time withgit init).
Once the wizard is complete, the project will be created in a folder with the name you chose, and it will initialize the entire project for us (look at that, how clever).
Running the development server
Once we have created our project, we will be eager to see it working. So first we go to the project folder with the following command:
cd astro-demo
To see your project in action, we run the development server with the following command:
npm run dev
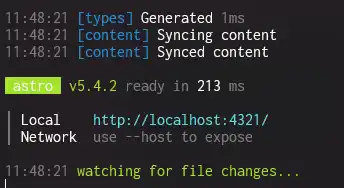
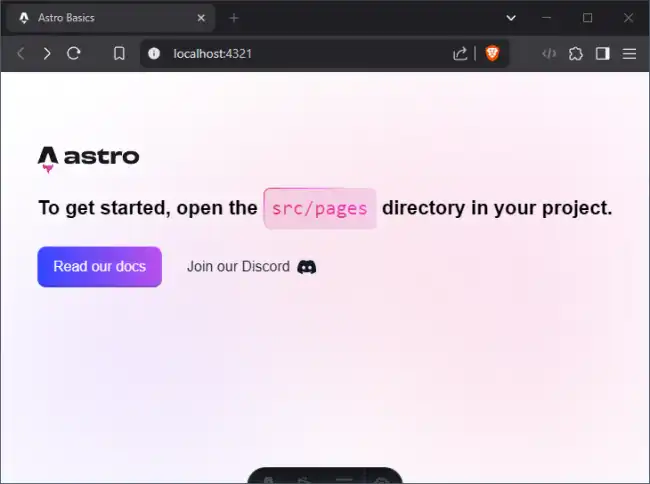
This will start a local server at http://localhost:4321/. Open your browser and visit that address to see Astro’s default homepage.
Development mode is what we will normally use while programming with Astro. When we finish, we will do the build (we’ll see it below).
Modifying the application
Now that you have a basic project running, it’s time to start playing with it. For example, let’s see it by modifying the homepage of our project.
Open the file src/components/Welcome.astro. Instead of what you have, paste this code:
---
---

<div id="container">
	<main>
		<section id="hero">
			<h1>
				Hello from <strong>LuisLlamas.es</strong> 💛
			</h1>
		</section>
	</main>
</div>

<style>
	#container {
		font-family: Inter, Roboto, 'Helvetica Neue', 'Arial Nova', 'Nimbus Sans', Arial, sans-serif;
		height: 100%;
	}

	main {
		height: 100%;
		display: flex;
		justify-content: center;
	}

	#hero {
		display: flex;
		align-items: start;
		flex-direction: column;
		justify-content: center;
		padding: 16px;
	}

	h1 {
		font-size: 22px;
		margin-top: 0.25em;
	}
</style>
Now simply save your file and, right after saving, you will see that your page changes! and becomes this:
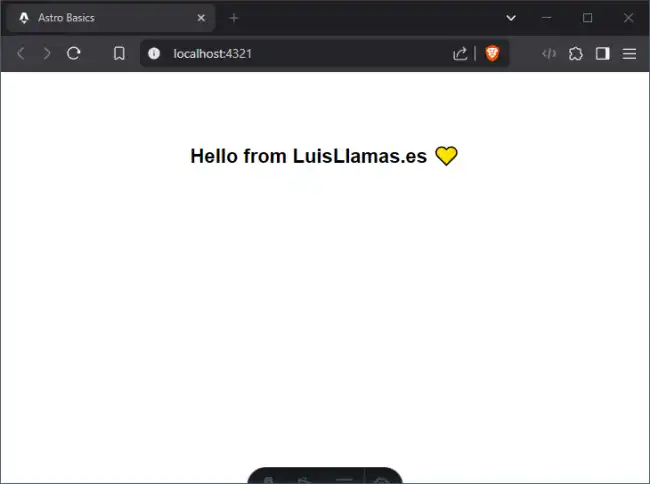
Tadaaa! 🎉🥳. What you just saw is Hot-reload, a feature of Astro, which automatically reloads the web when we make modifications. Isn’t it wonderful?
Actually, HotReload is provided by Vite, which Astro uses internally. And it exists in many platforms. But let’s not ruin this beautiful moment 😘
Building the application
When we have finished developing our project, and we want to put it into operation (in production) we have to build our website.
To do this, we run this command.
npm run build
Astro (and Vite) will start doing their ✨ “magic” ✨ and will generate your website.
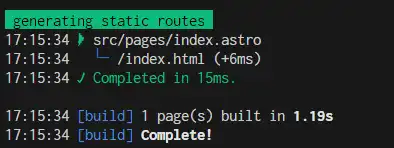
After the process, you will have your generated website in the /dist folder. With everything needed so you can upload it directly to a web server. Without needing anything else.
Wasn’t that easy? But this is just the beginning. In the upcoming tutorials, we will see how to use Astro components.
