Let’s see how to install Node.js on your computer. I’ll tell you in advance, it couldn’t be easier 😉.
In addition to the methods we will see, there are several more. There’s something for everyone! You can find all the necessary documentation on the official page Node.js — Download.
Installing Node.js
We go to the official Node.js site and download the Node.js installer for Windows, under ‘Prebuilt Installer”.

Once downloaded, run the installer. Follow the instructions of the installation wizard and accept the license agreement terms.
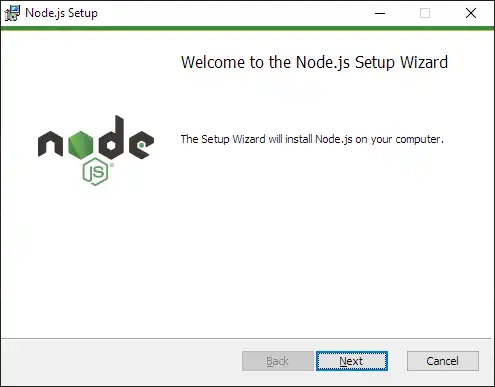
You just have to follow the wizard’s prompts. Literally, next, next, next… you can’t go wrong. Done! You now have Node.js installed on your system.
On Ubuntu and other Debian-based distributions, you can install Node.js and NPM from the apt package manager. We make sure everything is up to date.
sudo apt update sudo apt upgrade
Now, we need to add the NodeSource repository, which provides updated versions of Node.js. To do this, we first need to install curl if you don’t have it already:
sudo apt install curl
Now, we use curl to download the installation script from the NodeSource repository:
curl -fsSL https://deb.nodesource.com/setup_20.x | sudo -E bash -
Note: The 20.x in the URL refers to the version of Node.js we are installing. You can change it to your preferred version.
Finally, install Node.js with the following command:
sudo apt install -y nodejs
If you have Homebrew installed, you can easily install Node.js with:
brew install node
Verify the Installation
In any case or operating system, the first thing you should do after installing Node.js is to verify the tool. It almost always works, but… just in case.
To verify that Node.js has been installed correctly, open the command line (CMD) and type:
node -v
It will return something like this, indicating the installed version.
v20.9.0
This should display the installed version of Node.js. To verify NPM, type:
npm -v
