In this post, we are going to learn how to install PHP on a Debian-based operating system like Raspbian on Raspberry Pi.
PHP is a widely used language for serving dynamic content and is a common component of a server. Together with Apache and MySQL/MariaDB, it forms part of the “LAMP” stack (Linux, Apache, MySQL/MariaDB, PHP).
Installing PHP on Raspberry Pi is very easy through the APT package manager. Simply, in a command console, we do:
sudo apt install php libapache2-mod-php php-mysql
That simple. Now, it’s a good idea to modify the Apache configuration because, by default, if it finds an ‘index.html’ file, it will prioritize this over an ‘index.php’. Normally we want the opposite behavior, so we are going to change it.
To do this, we do:
sudo nano /etc/apache2/mods-enabled/dir.conf
In the file content, we will find the following:
We modify it, moving ‘index.php’ to the left:
Close the file and restart Apache by doing:
sudo systemctl restart apache2
To test that PHP is working correctly, let’s create a simple file by doing:
sudo nano /var/www/html/info.php
Inside it, we simply put the following content:
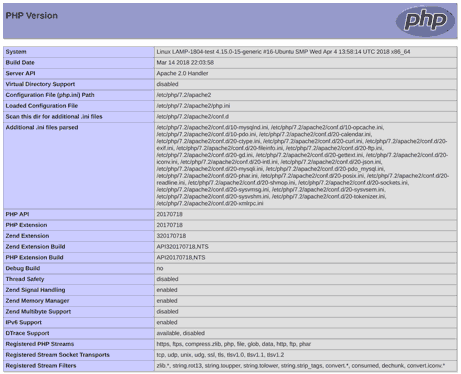
Now we access the file’s local URL with the browser.
localhost/info.php
If you see the following, congratulations, PHP is working correctly.
Finally, we delete the test file we created:
sudo rm /var/www/html/info.php
That’s how easy it is to install PHP on Raspberry Pi! In upcoming posts, we will see how to install MySQL and MariaDB to configure our LAMP stack. See you soon!
