In the previous tutorial, we saw which Arduino model to buy. Let’s assume you have received your brand new Arduino (or you had it in the bottom of a drawer, it’s all the same) and you are eager to start playing with it.
But first we need a tool that allows us to write our instructions and send them to the microcontroller. That tool is the Arduino IDE.
In this post, we will see how to install the standard IDE, what other options exist for programming in Arduino, and finally, a compilation of some useful programs for our electronics projects.
IDE stands for Integrated Development Environment. Don’t be scared by the name: it’s basically a text editor designed for programming, with a button to send the code to the board.
How to Install Arduino IDE
For years, the classic version (1.8.x) was the standard. However, the IDE 2.0 has been available for some time now, a complete overhaul that is much more modern, nice, and user-friendly.
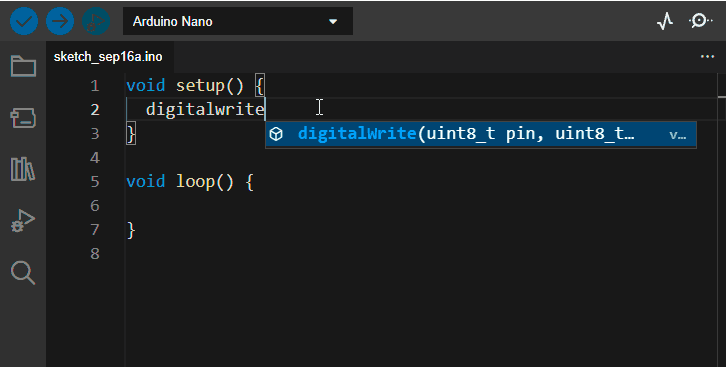
We are going to use version 2.0 from now on, because it has modern features like autocompletion (helps us write code) and a much cleaner interface.
To download it:
Go to the official Arduino software page: arduino.cc/en/software.
Look for the “Downloads” section.
Choose your operating system (Windows, Linux or macOS).
Download and install it like any other program.
Arduino 2.x is much better than 1.x.x. But some (few) features are still not ported. Personally, I have both installed.
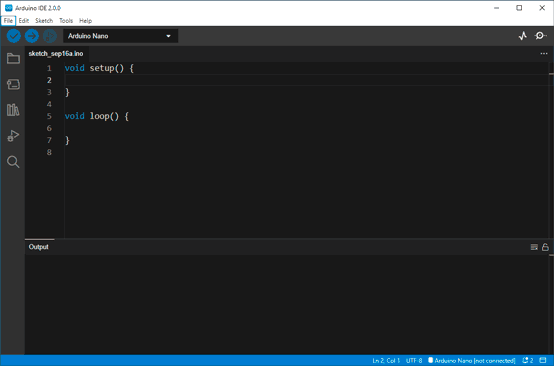
First Look at the Interface
Once installed, open the program. You will find a window that, although intimidating at first, is quite simple.
Let’s identify the critical parts we will use 99% of the time:
- Text Editor: The central area. This is where we will write our code.
- Verify Button (Tick ✔️): Used to check if we have written something wrong. The IDE will review the code for syntax errors, but it will not send it to the board.
- Upload Button (Arrow ➡️): This is the magic button. It verifies the code and, if it’s correct, loads it onto the Arduino board.
- Output Console: The bottom area. This is where the IDE “talks” to us. If there is an error, red text will appear here explaining what happened.
Bonus Pack of Useful Programs
To finish, a collection of applications that are not for programming, but may be interesting during the use of Arduino and the development of our electronics projects.

Processing is a very popular environment, easy to use, and with a look very similar to the standard Arduino IDE. Its main quality is that it allows you to easily create graphical environments and user interfaces that simplify the interaction between PC and Arduino. The language used is slightly different, but very similar, to the one used in Arduino. It is available at this link
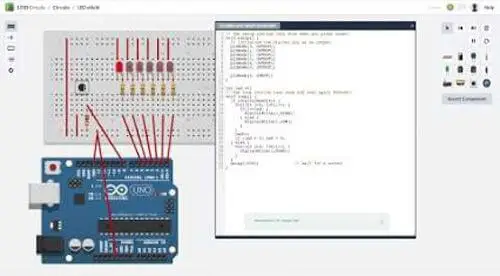
A free online tool from Autodesk that allows drawing schematics similarly to Fritzing. It also allows circuit simulation, and we can even do “virtual programming” of Arduino boards and check their operation. A great initiative that, for now, still has quite a few problems. The simulation is slow (try to bias an LED with a transistor, and wait until tomorrow) and as a drawing program, Fritzing is still better. However, a very interesting application that we hope will improve and is certainly worth a look. It is available at this link.
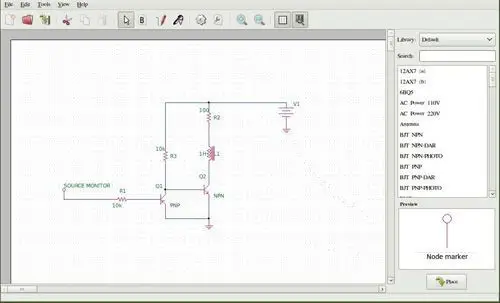
It is a small free program for the simulation and design of electronic circuits (EDA Electronic design automation). Easy to install and use, suitable for quickly doing small simulations (biasing with transistors, low-pass filters, etc.), checking and adjusting the operation before making the final assembly. This way we ensure we don’t damage any components, nor buy things that won’t work. To install it on Ubuntu/Mint simply,
sudo apt-get install oregano