We continue with the Raspberry Pi tutorials. In the previous post of the Raspberry Pi tutorials we saw how to install Raspbian or another (or even multiple) operating system with Noobs. Now we are going to see how to install Raspbian (or another OS) directly without using Noobs.
Update: The recommended way to install an operating system on a Raspberry Pi is with Imager
Fortunately, as we mentioned in the previous post, installing operating systems on Raspberry Pi has become much simpler. Currently it is a very simple operation thanks to the Etcher tool.
Install Raspbian with Etcher
Etcher is a tool that allows you to install an image onto an SD/micro SD card. Etcher stands out for its simple graphical interface, being Open Source, and having versions for Windows, Linux, and Mac OS.
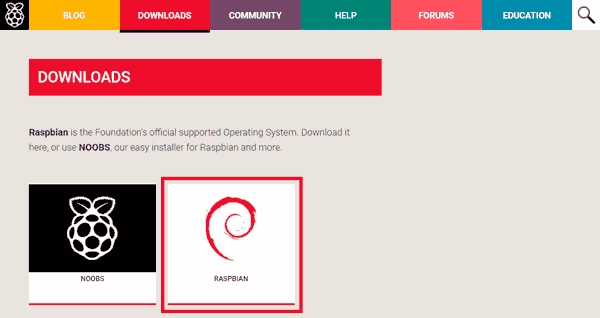
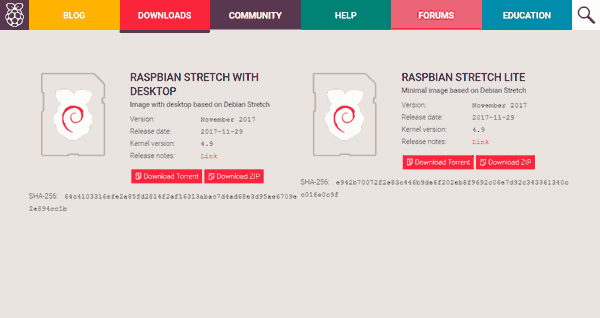
First, we download Raspbian from the website. To use Etcher we can work directly with the Zip file, without needing to unzip it.
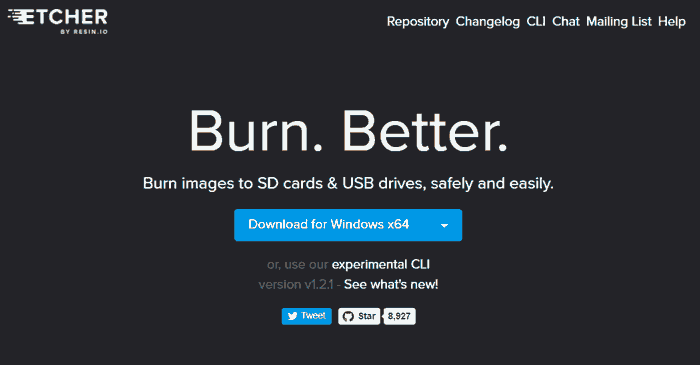
On the other hand, to get Etcher we go to its website https://etcher.io/ and download the appropriate version for our operating system. Then, we install and run Etcher.
Etcher’s interface is very simple, it only has three buttons that we must execute in order.
Select the image we downloaded previously

Select the drive that corresponds to our SD/micro SD card
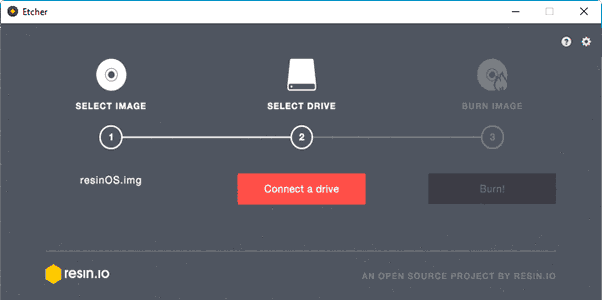
We click on flash

When the process finishes, Etcher automatically verifies that the copy was performed correctly.
Once the process is finished, we will have the SD/micro SD card ready with Raspbian installed.
Bonus: Alternative in Linux
In most Linux distributions we don’t need to use third-party tools to install the image onto the SD/micro SD card. We will simply need the command console.
First, we determine the partition that corresponds to the card with the following command.
df -h
Once the partition is determined, we unmount the drive. For example, assuming the card’s partition is /dev/sdb1, we execute the following command (replace with the drive corresponding to your system).
umount /dev/sdb1
Finally, we install the image we downloaded onto the SD/micro SD card using the following command.
unzip -p NombreImagen.zip | sudo dd of=/dev/sdb bs=4M conv=fsync
where we must replace ‘NombreImagen’ with the name of the file we downloaded (which depends on the current version), and /dev/sdb with the drive of the memory card on our system.
If instead of having downloaded the Zip file we have the Img file, we can use this command.
sudo dd bs=4M if=NombreImagen.img of=/dev/sdb
