
You may have at some point considered or had the need to set up your own web server. In this post, we are going to see how to set up a web server with the help of XAMPP.
Let’s remember that a web server is simply a program that handles Http requests and responds by serving (hence its name) files (html, images, etc.), which the client receives on their device and generally renders in a browser.
Fortunately, installing a web server is much simpler than it seems thanks to the existence of packages like XAMPP. These distributions include everything we need in a single installer and are controllable from a unified control panel.
XAMPP is free and distributed under the GNU license. It is cross-platform with versions for Linux, Windows, and Mac OS.
Why do I want a Web Server?
Although it may contradict the title of this section, first let’s see what we do NOT want a web server on our own computer for.
Setting up a local (or home) web server is not intended for you to serve a website from your home. For that, it is more convenient to choose a hosting company to host the website.
The reasons are essentially the requirements for supplying a website. You need a computer permanently on and connected to the Internet. Furthermore, you need significant bandwidth. But, above all, you need a domain redirected through your router to your IP address, which, to make matters worse, will likely be dynamic.
So then, why DO we want to install a web server on our own computer? The main reason is to use it as a testing environment, either to test web applications we have downloaded, or because we are doing development and need to test its operation before uploading it to the real server.
Another reason might be that we actually want a local website, which we can host on a small server computer (or even on a miniPC like a Raspberry Pi). For example, we can create a private cloud to share files with the rest of the team, set up a corporate intranet website, view our multimedia files on home devices, etc.
Having a local web server is also interesting for IoT and home automation applications. For example, being able to turn lights on or off at home, check electricity consumption, even control thermostats.
Finally, another reason for wanting to install a web server is simply to learn how to do it. It serves to practice with the installation and configuration of a web server since, in the case of cloud-hosted servers, the procedure is similar (although more attention to optimization and security is necessary).
Lastly, we have the reason of wanting to practice with the installation and configuration of a web server, as in the case of cloud servers the procedure is similar (although more optimizations are needed).
These are just some among many uses for which you might need to install a web server on your computer. But, in summary, if you want to get your “feet wet” in Web, you need to have a web server installed.
What is XAMPP?
XAMPP is a distribution that groups various applications into a single package. It is one of the most common solutions for quickly setting up a web server.
The XAMPP package is composed of the popular Apache web server along with a database (MySQL or MariaDB) and a server-side programming language (PHP/Perl).
The acronym is, precisely, a composition of X (cross-platform), A (Apache), M (MySQL/MariaDB), and P (PHP/Perl).
The XAMPP acronym has different variations, depending on the operating system it is intended for. Thus, you will see terms like:
- XAMPP = MultiOS + Apache + MySQL/MariaDB + Perl/PHP
- WAMP = Windows + Apache + MySQL/MariaDB + Perl/PHP
- LAMP = Linux + Apache + MySQL/MariaDB + Perl/PHP
- MAMP = Mac + Apache + MySQL/MariaDB + Perl/PHP
In earlier versions XAMPP worked with MySQL, but it was replaced by MariaDB around 2015. However, you will sometimes see both terms used interchangeably, which can cause some confusion.
Additionally, it includes Filezilla for creating FTPs, Tomcat, an Open Source implementation of Java Servlets, and Mercury, an email server. We won’t cover these points in this tutorial, but we mention them because you will see the buttons in the control panel.
How to Install XAMPP?
Let’s see how to install XAMPP on Windows. We will cover Linux soon in a Raspberry Pi tutorial, although, in general, the process is very similar.
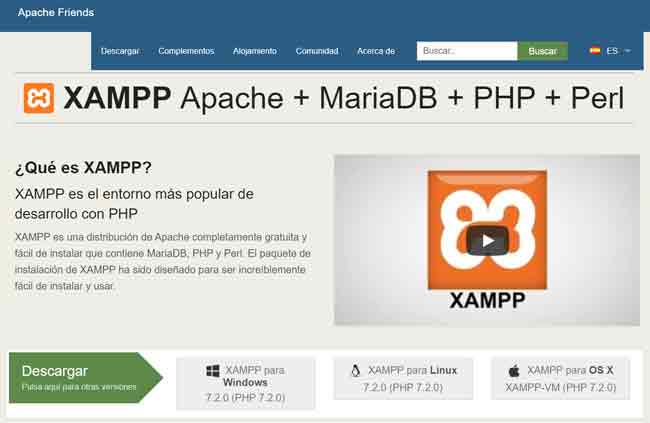
As we said, installing XAMPP is very simple, which is precisely one of its strong points. First, we download the installer for our operating system from the address https://www.apachefriends.org/es/index.html.
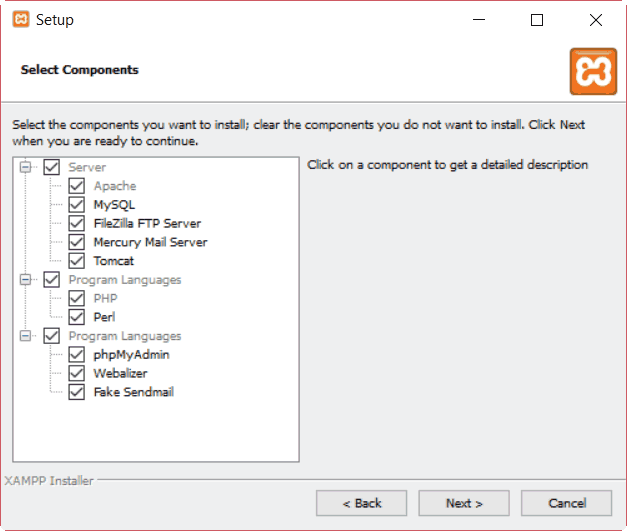
We run the installer, leaving all options installed.
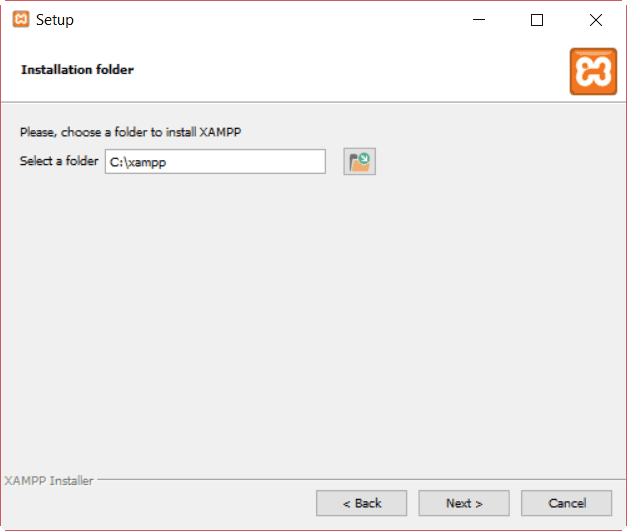
We select the path where we want to install XAMPP. The default path (“C:\Xampp”) is recommended in most cases.
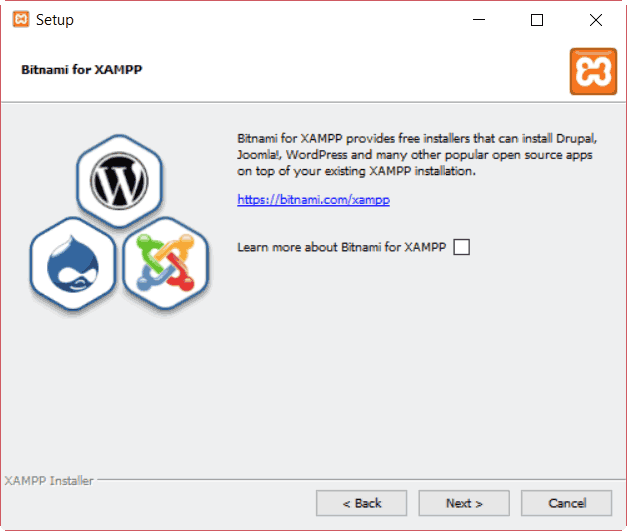
On the next screen, we leave the option to learn more about Bitnami unselected.
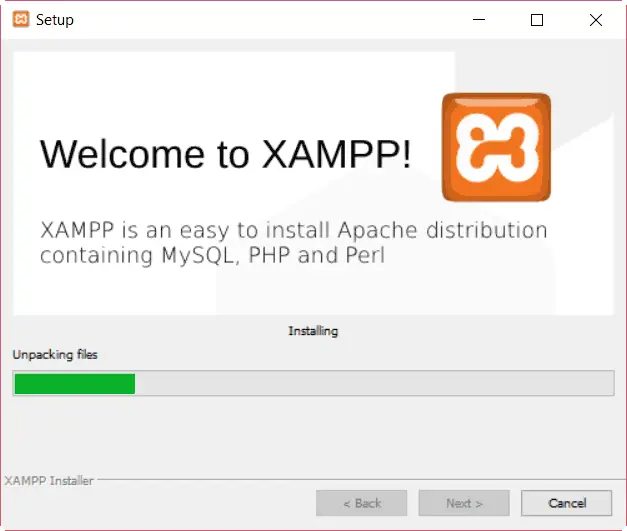
We wait for the XAMPP installation to finish.
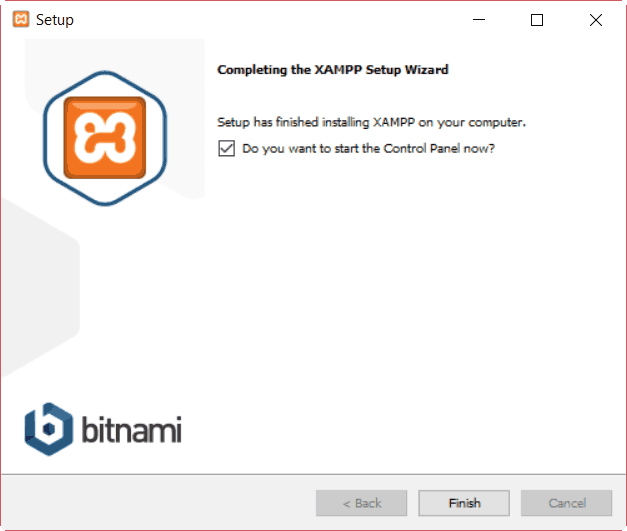
Finally, we finish the installation, leaving the “Launch the control panel now” option selected.
How to Configure XAMPP
Once the XAMPP installation is finished, the control panel will open. Later we can launch it from the start menu, or set it to start automatically with Windows.
The XAMPP control panel appears as an icon in the notification area, so we can access it at any time.

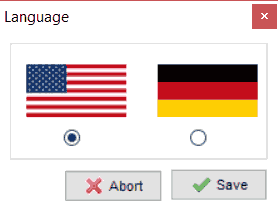
The first time we launch the control panel, it lets us choose between English or German language.
Next, we will see the control panel, which shows the status of the services that make up the XAMPP package. Furthermore, it allows us to start each of the services, as well as access the configuration and log of each one.
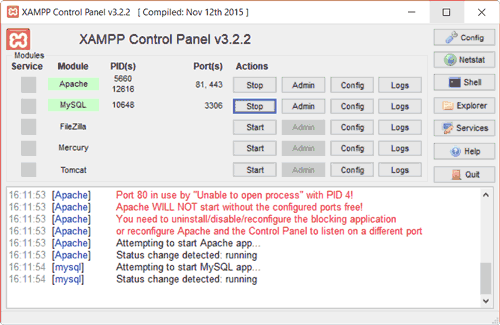
To make XAMPP start functioning as a web server, we normally want to start the first two services, Apache and MySQL.
As an additional step, and to show an example of configuration change, let’s change Apache’s listening port from 80 to 81. The reason is that port 80 is in high “demand” and we may have conflicts with other programs using this port (like Microsoft’s IIS web server, which you might have installed).
We click on the “Config” button for Apache, and then on the file “Apache (httpd.conf)”.
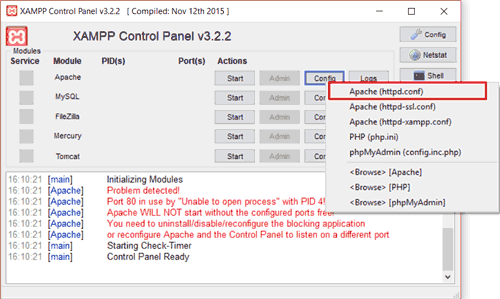
In the text file that opens, we look for the line that says “Listen 80”. We change the port from 80 to 81, leaving it like this.

After making this example/precautionary change, we start the Apache and MySQL services by clicking both Start buttons. If everything went correctly, we will see that both services activate, which we can verify because the name turns green, the process indicator (PID) for each is shown, as well as the ports they are using.
We have XAMPP running! Don’t say it wasn’t easy. Now let’s start using it.
Testing XAMPP
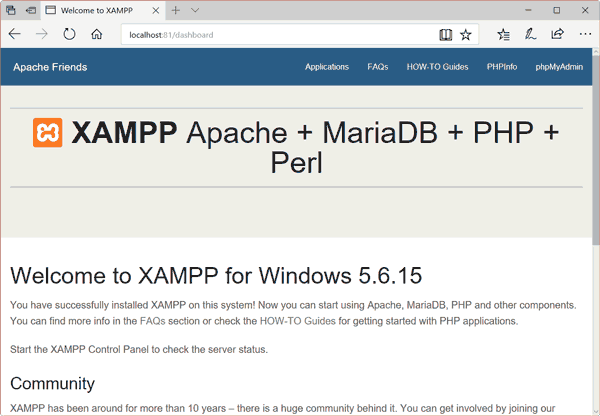
Let’s check that, indeed, our web server is working. We open our favorite browser and type the URL http://localhost:81/. We will see that the XAMPP welcome window loads, indicating that we are indeed serving web pages.
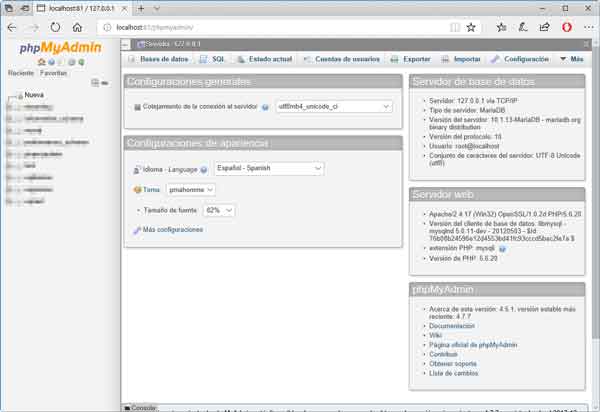
We can also access the following address to check the status and configure the database integrated into XAMPP via the URL http://localhost:81/phpmyadmin/.
Using XAMPP
We have already verified that XAMPP is working. Now let’s see how to serve our own web pages with a simple example - our web “Hello world”!
Inside the installation path, we have a folder called htdocs (by default “c:\XAMPP\htdocs”). Each folder we put inside this folder will be treated as a URL by XAMPP.
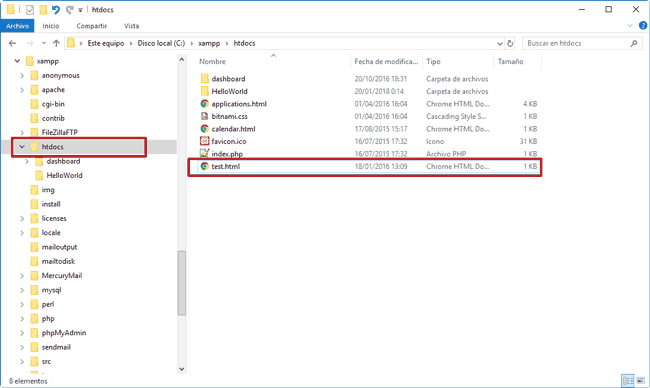
If we go to our htdocs folder, we will see it contains a folder called Dashboard, which is precisely the web page we viewed in the previous section.
Continuing with our example, we create a new folder that we call, for example, HelloWord. Inside it, we create a single text file named “index.html” with the following content.
<!doctype html>
<html class="no-js" lang="">
    <head>
        <meta http-equiv="x-ua-compatible" content="ie=edge">
        <title>My page</title>
        <meta name="description" content="">
    </head>
    <body>
        <h1>Hello World!</h1>
    </body>
</html>
Finally, in the browser, we enter the route “localhost:81\HelloWorld”. We will see that the result is the following.
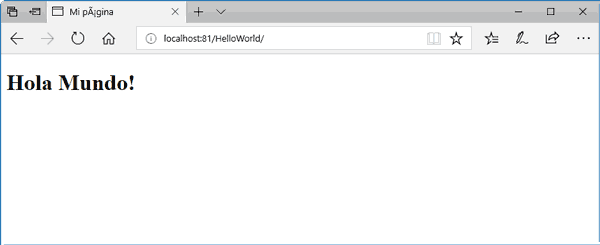
Our simple “Hello World” page. It’s not the most sophisticated web page in the world (in fact, it could hardly be less so) but… this means everything is working correctly!
Now you can create as many folders (i.e., websites) as we need, and we will access them in the same way by indicating the localhost path followed by the folder name.