In this post, we are going to see how to install Node.js, the popular server-side technology. If you don’t know what Node.js is yet, we recommend reading the previous post What is Node.js and why you should be using it.
We will also see the basics of how Node.js works by setting up a small web server, which for now will simply return the well-known “Hello World”, typical of any introductory computer tutorial.
Of course, as we mentioned at the time, Node.js is much more than a server, and in the future we will see many more features and functionalities. But, as an example, it serves as an excuse to present the basics of Node.js.
How to Install Node.js
Nowadays, installing Node.js is really simple. There are packages and installers for Windows, Linux, and Mac, and it is also available as a container for Docker. In most cases (except for some Linux distributions) the installation process consists of downloading and running the installer.
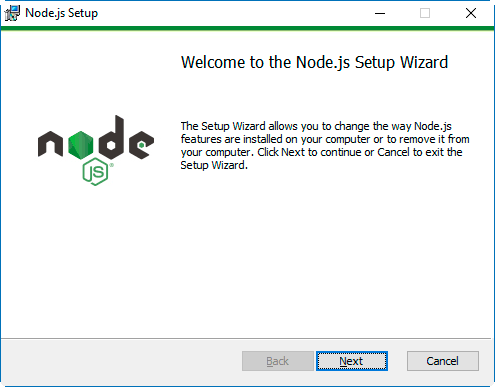
In the case of Windows, simply download and run the installer.
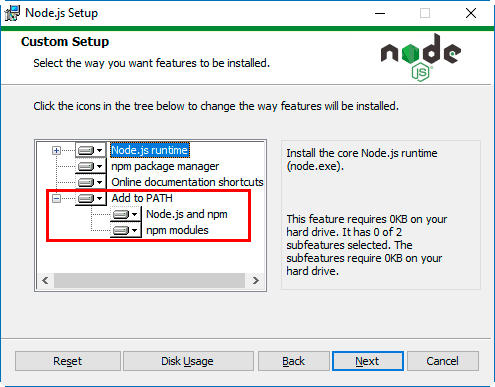
Make sure the option to add to Path is checked. This allows you to call Node.js executables (node and npm) from any folder, without having to write the full path to the executable (e.g., C:\program files(x86)..etc..\node.exe).
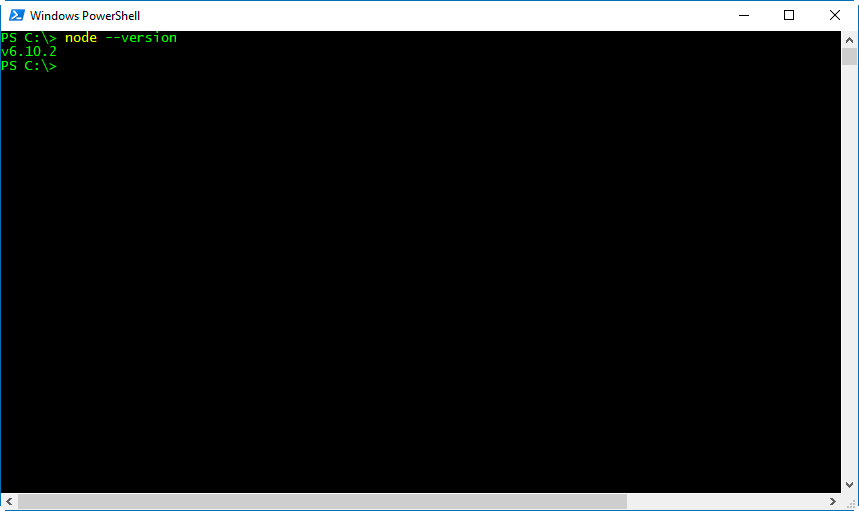
To check that we have installed it correctly, open a command console and type:
node —version
We should get the installed version of Node.js.
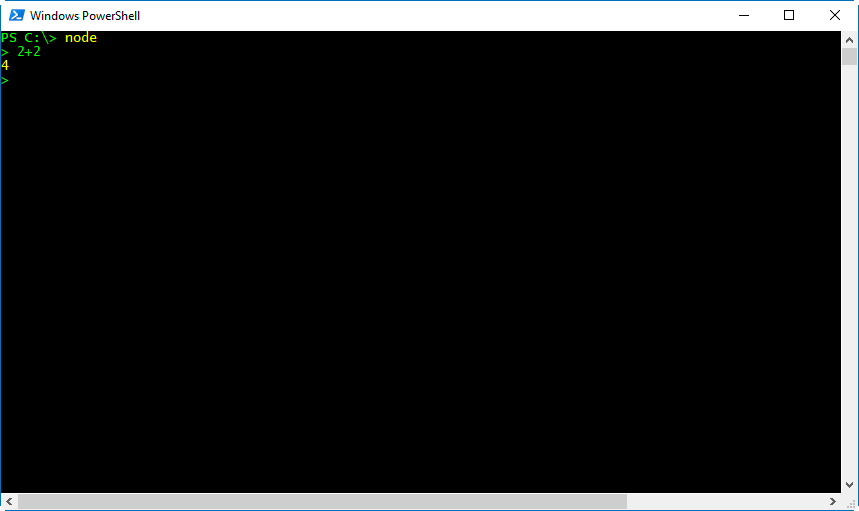
To start the interpreter, simply type:
node
Now if we enter JavaScript commands, for example, 2+2, we will see that Node.js processes the commands, returning 4 in our example.
Very nice, but terribly uninteresting. Let’s improve this right now.
Run a JavaScript File
Logically, we won’t want to enter our code into the interpreter, but we will want to save it in one or more files. Let’s see how to run a JavaScript file from Node.js.
For organizational purposes, we are going to create a folder for our projects and a folder for each project. It is not strictly necessary for Node.js to work, but it’s the minimum to keep our projects organized.
So, create a folder, for example in your Documents folder or on C:, and call it NodeJs (or NodeJsProjects, or whatever you like).
Inside this folder, we are going to make a new folder for our first Hello World project. We will call this folder ‘hola_mundo’ (very originally).
Inside this folder, create a file called ‘hello.js’, and inside it copy the following content:
// Show text in the console
console.log("Hello World");
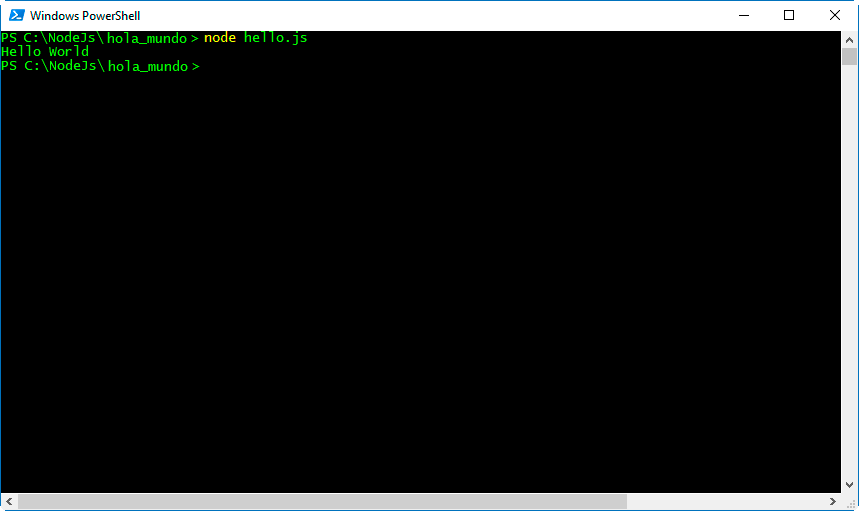
Which simply displays the text “Hello World” on the console. Now, run this file with Node.js with the following command:
node hello.js
We will see that Node.js executes the file, displaying “Hello World” on the screen.
We already know how to run code from a JavaScript file. Although it’s still not particularly interesting, since all the code is running on the server. Let’s improve this by responding to HTTP requests made from a client.
Make a Simple Server in Node.js
We continue with our simple Hello World example in Node.js, setting up a server that listens for HTTP GET requests on a port (for example 8080), and responds to the request with our ‘Hello World’ message.
To do this, modify our hello.js file with the following content.
// Load the HTTP module
var http = require('http');

// Set up an HTTP response for all requests
function onRequest(request, response) {
  console.log("Request Received.");
  response.writeHead(200, {"Content-Type": "text/html"});
  response.write("Hello World");
  response.end();
}

var server = http.createServer(onRequest);

// Listen on port 8080
server.listen(8080);

// Put a message in the console
console.log("Server running at http://localhost:8080/");
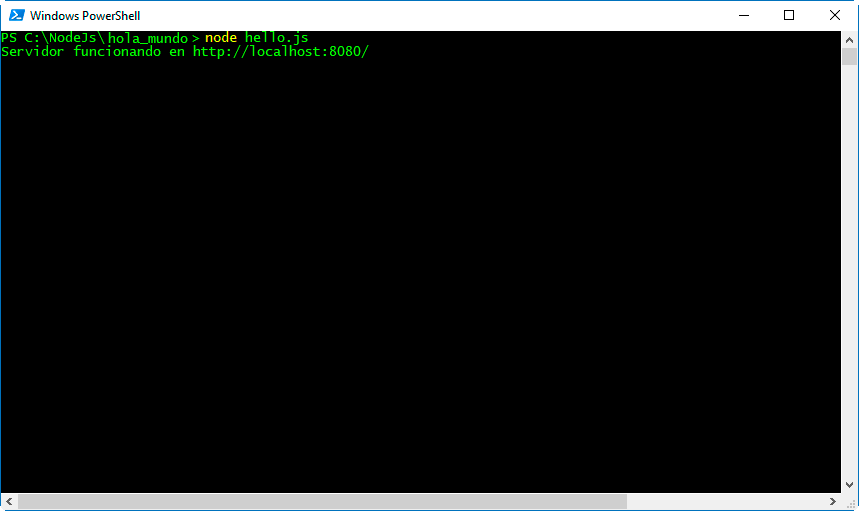
We start our very simple web server with the same command as before:
node hello.js
And we check that Node.js responds correctly indicating that it is accepting requests:
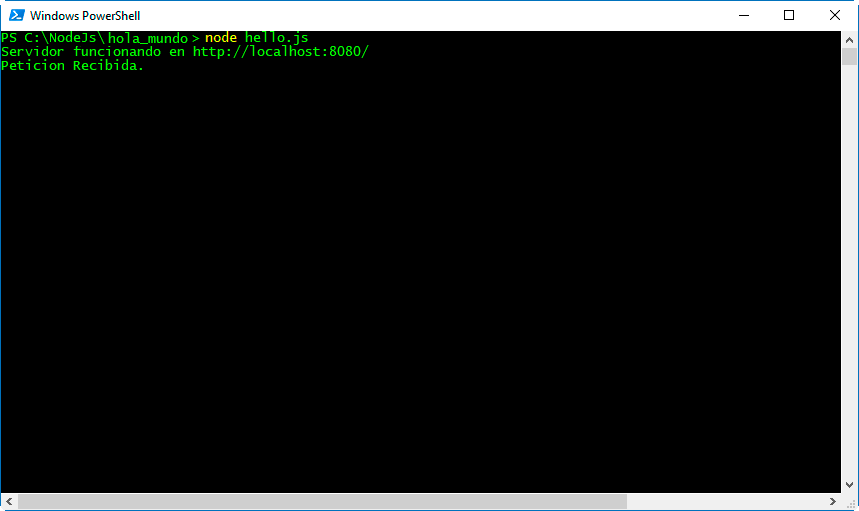
Now, in a web browser, call the address localhost:8080, and we will see that Node.js returns a simple HTTP response containing ‘Hello World’, which the browser picks up and renders for us.

We also see in the command console that Node.js indicates with ‘Request Received’, showing that a connection has been established.
Therefore, we see that we have correctly configured a very simple web server with Node.js. Now we could serve a file (html, css, js), data loaded from a database, or even turn on/off a light, or move a robot with a microprocessor like Arduino.
Isn’t this starting to get more interesting?
The package.json File
So far we have saved the file in a folder and launched the file with the Node.js executable. However, when working on a project, it is common to have a package.json file.
This file stores the most important data and configuration of the App we are developing, such as name, version, dependencies, etc.
We can quickly create this file with the Node Package Manager (npm). To do this, inside our project folder, run the command:
npm init
NPM asks us a series of questions to configure our App. We can modify this data later. For now, for this example, pressing ENTER on all the questions is enough.
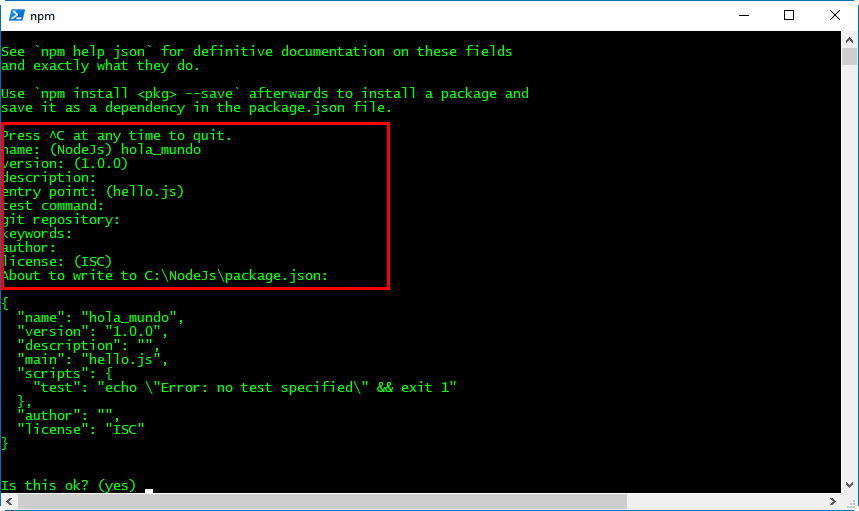
In our project folder, the package.json file is created, with the data we entered.
Now we are going to modify this file to indicate that the entry point to our App is our hello.js file. To do this, modify the content of package.json with the following:
{
  "name": "hola_mundo",
  "version": "1.0.0",
  "description": "",
  "main": "hello.js",
  "scripts": {
    "test": "echo \"Error: no test specified\" && exit 1",
   "start": "node hello.js"
  },
  "author": "",
  "license": "ISC"
}
Finally, we can start our application simply by typing:
npm start

These are just a few brushstrokes on using Node.js. In future posts, we will frequently use Node.js, and we will learn to connect it to a database, develop a REST API, and use it in robotics and IoT projects.