Raspberry Pi Desktop is a version of Raspberry Pi OS designed to run on a conventional PC, for example inside a virtual machine with Oracle VM VirtualBox.
Emulating this environment in a virtual machine can be useful, for example, to run tests without having a physical Raspberry Pi available, or to do experiments in a controlled environment before deploying them on the real machine.
It should also be said that we are not emulating the complete Raspberry Pi hardware. Raspberry Pi Desktop gives us a very similar Linux environment for practice, but it does not reproduce the GPIO, communication buses, or the real ARM architecture differences.
In any case, it is very simple and doesn’t take up much hard drive space, so if you are going to work frequently with Raspberry Pi, it is useful to have a virtual machine on your computer for testing and experiments.
Create the Virtual Machine
First, download and install the latest version of Virtual Box from https://www.virtualbox.org/
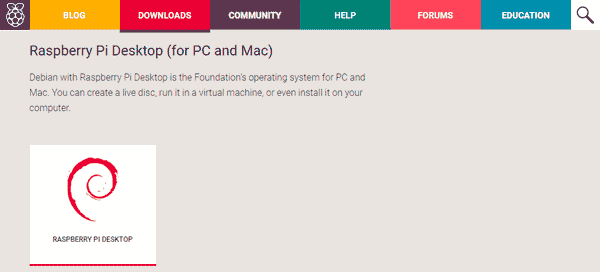
On the other hand, download the latest version of Raspberry Pi Desktop from https://www.raspberrypi.org/downloads/raspberry-pi-desktop/.
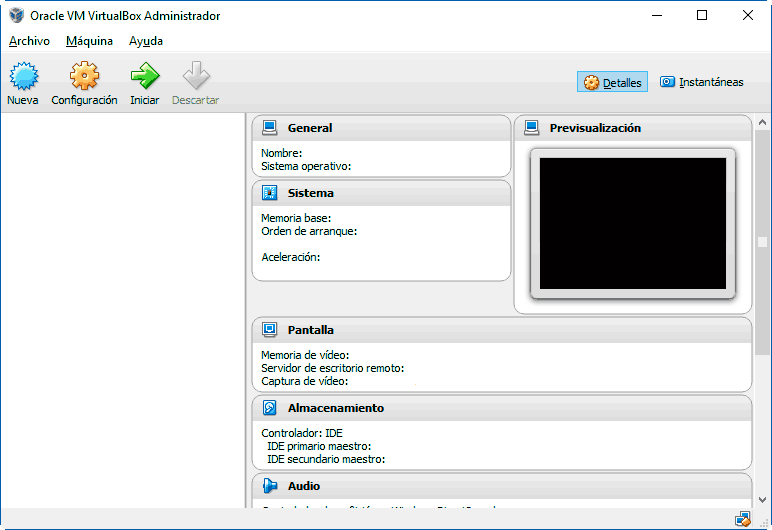
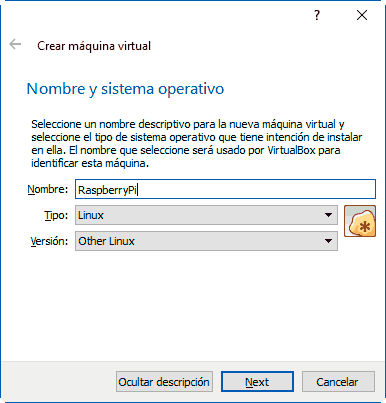
Launch Virtual Box and add a new machine.
Give your machine a name, for example “RaspberryPi”, and select type “Linux”, version “Other Linux”.
Increase the memory size to 512 Mb.

Now we need to create a virtual hard disk, where the machine’s files will be stored. Choose “Create a new virtual hard disk”.

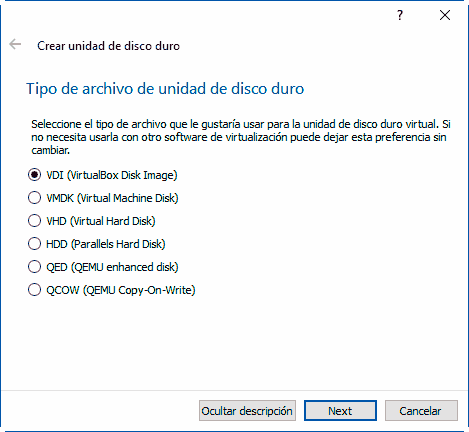
Leave the default hard disk type.
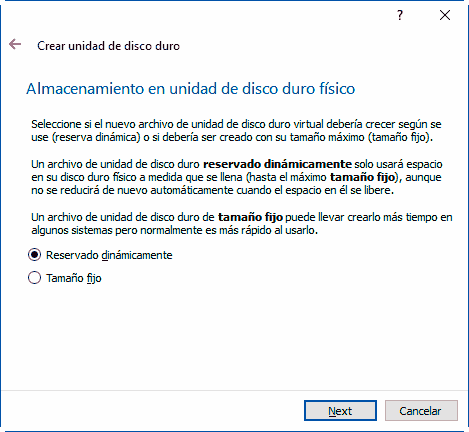
Now we choose whether we want the size to be dynamically allocated or fixed size.
- If it is dynamically allocated, the virtual hard disk file will only have the size of the space actually occupied in the virtual machine. But in return, performance will be lower when it has to expand the size.
- If we choose fixed size, performance will be higher, but the virtual hard disk file will always occupy the maximum size of the virtual hard disk.
We can choose dynamically allocated.
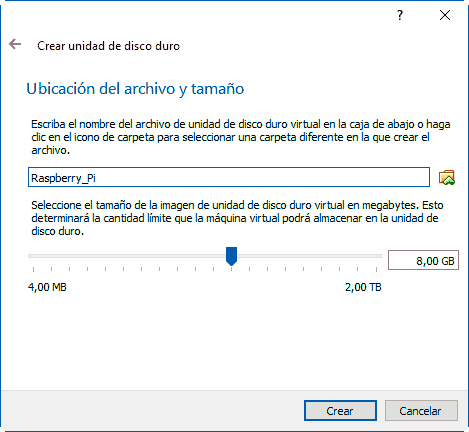
Choose a name for the virtual hard disk file, for example “RaspberryPi”, and for size choose between 8Gb - 16Gb. In general, 8Gb will be more than enough.
Our virtual machine is now created. Now, double-click to start it.
Installing Raspberry Pi Desktop
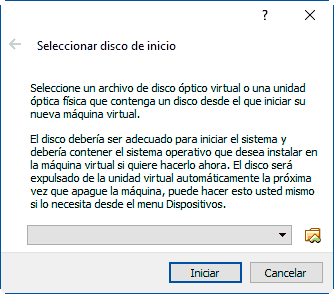
The first time we boot, we will be asked to insert an image as a Virtual CD for OS installation. We choose the image we downloaded in the first step.
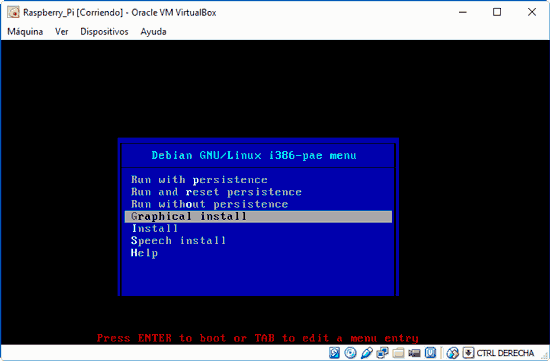
Choose “Graphic install” and follow the installer steps, leaving the default options it offers.
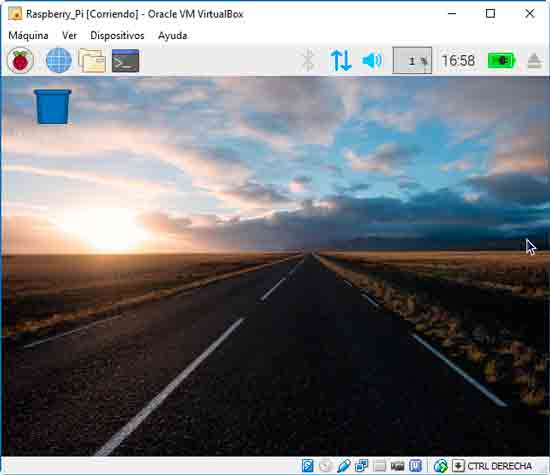
At the end of the process, our virtual machine with Raspberry Pi will start, and we are ready to start playing and experimenting with it.