We continue with the entries to renew and extend the life of our Galaxy S2, a device that despite the years is still a great mobile phone, capable of rivaling many current mobile phones. In this previous entry we saw how to replace the board that controls the charging and fix battery problems. In this one we will see how to replace the camera lens.
Over time and use, it is very likely that the lens of the rear camera of your mobile phone has been progressively scratched. If you look at it closely, you will notice wear and tear caused by rubbing when leaving the phone, which causes the lens to have lost transparency. If this is your case, you will have noticed a significant loss of quality in your images, which will appear blurry, less defined, and with less vivid colors.
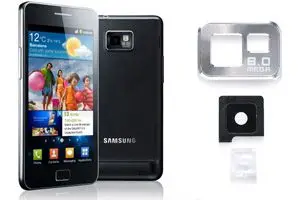
Fortunately, this repair is quick, fairly simple, and very cheap. You can find the necessary replacement for approximately 1 to 1.5€, including shipping costs. You just have to search on Ebay for “Lens camera i9100”, making sure to have the option to search in international sellers. The part is available in two colors (black and silver), according to the user’s preference.
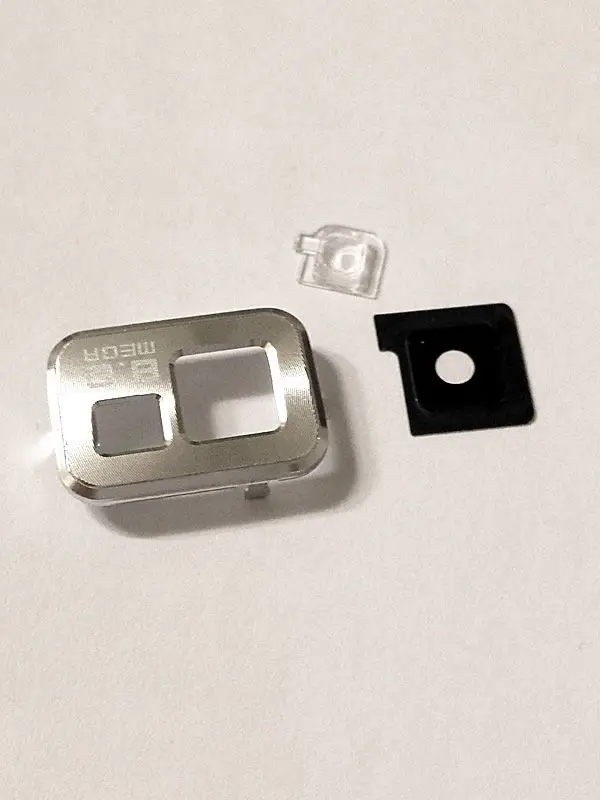
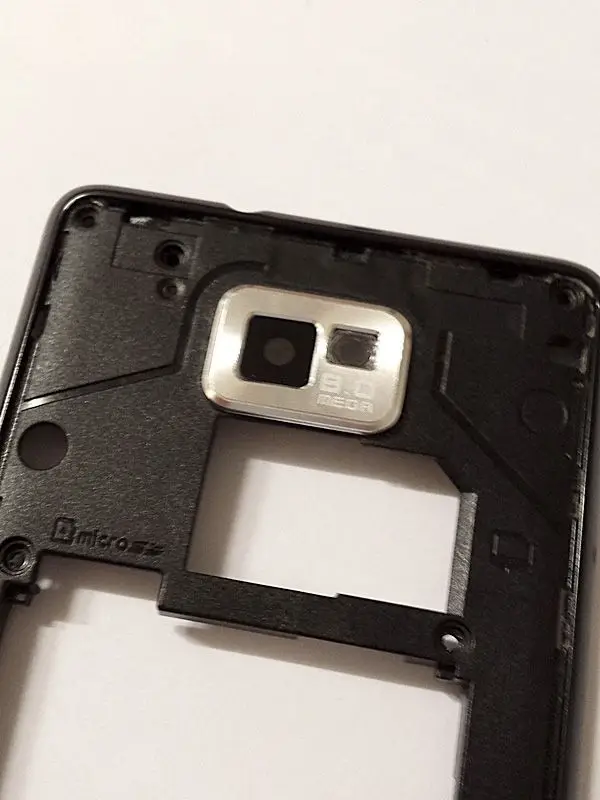
The part you will receive is similar to the following.
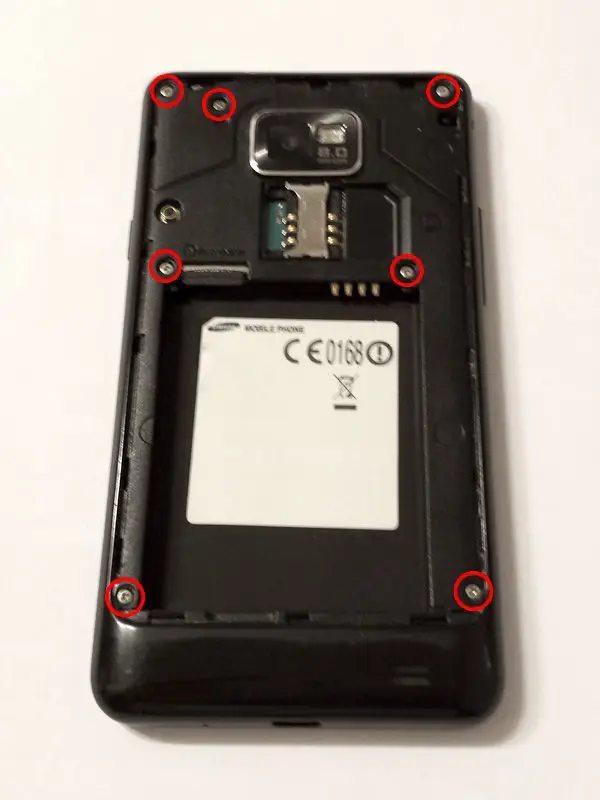
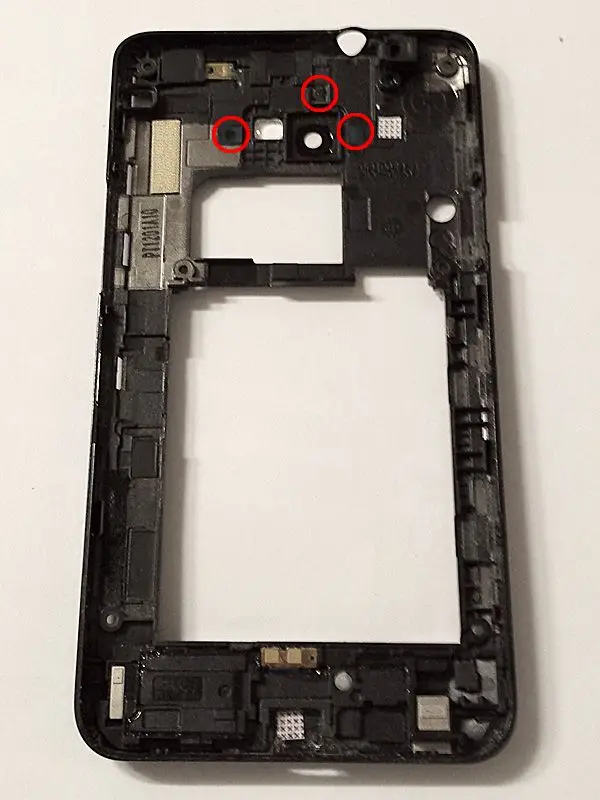
To replace the camera lens, we need to open our mobile phone. To do this, remove the back cover, the battery, and the SIM card. Next, unscrew the screws indicated in the figure.
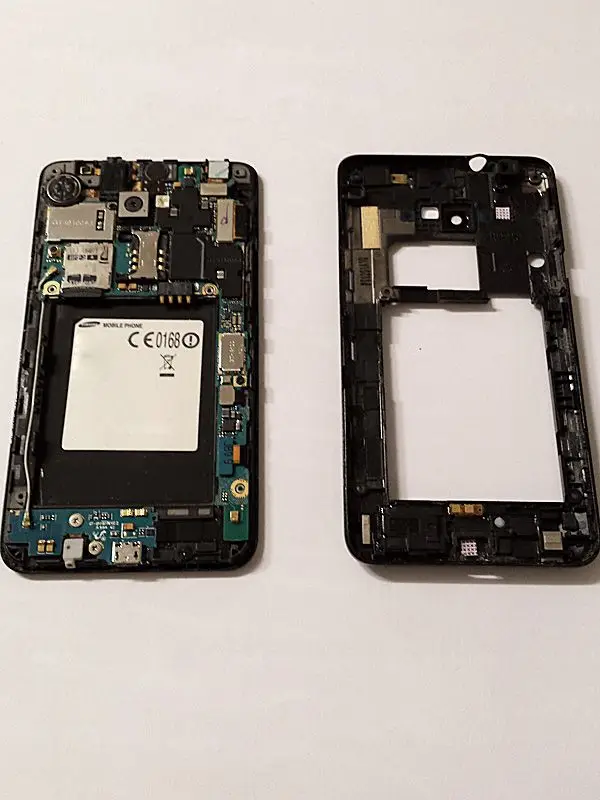
We open the phone, being very careful not to damage any component. We pay special attention to the buttons on the sides of the phones, cables, and plastic parts of the casing, as they are very delicate.
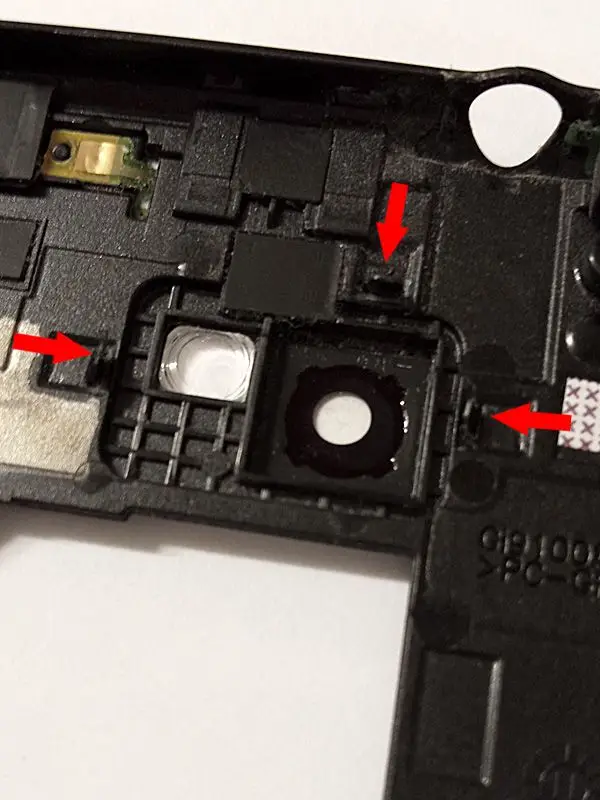
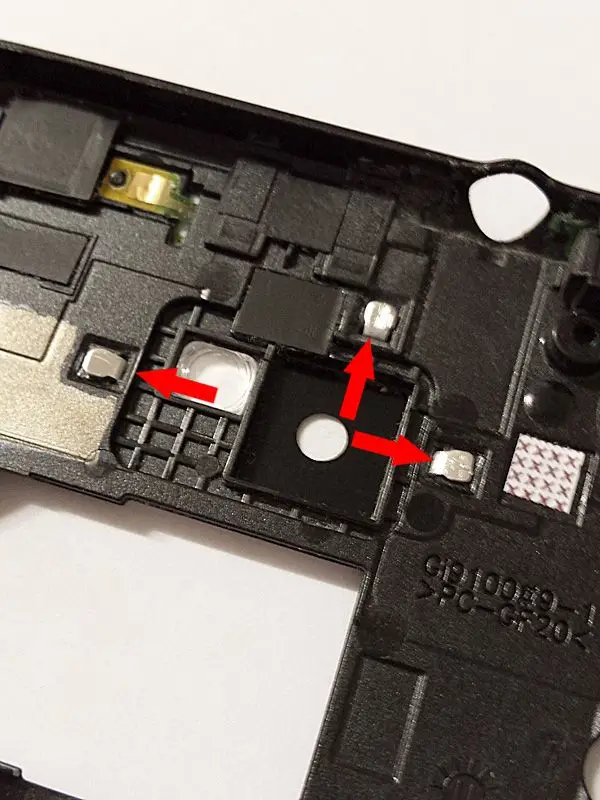
Now we must release the three metal tabs that hold the lens.
Carefully, we use a screwdriver to lift the tabs, as indicated in the following figure.
We remove the metal protector from the lens, exposing the lens that protects the camera and the flash lens. These components are adhered by an adhesive gel pad. We remove both pieces, applying gentle pressure, trying to preserve the adhesive gel to use it in securing the replacement parts.

We assemble the new lenses. We are especially careful not to touch the transparent parts of the new lens with our fingers to avoid leaving grease marks. Then we place the metal piece of the replacement.
Finally, we tighten the tabs of the new metal protector, trying to make it tight but without damaging the tabs. The tabs are thin, and it is not convenient to have to unfold them to make corrections. It is important to be careful and manage to secure it well on the first try.
Before closing, we make sure that everything is perfectly clean, without fingerprints or dust particles. If necessary, we would clean the surfaces with the help of a cotton swab moistened with a drop of alcohol. Under no circumstances will we try to clean the camera (located in the other half of the phone) as we can cause serious damage.
We close the phone, being careful to correctly place all the components, and voilà! We can now turn on our phone and check the improvement in image quality after giving it new “glasses”.
Repairing a mobile phone is a delicate operation that requires some experience and skill. We are not responsible for any damage you may cause to your device during the repair process.