In this post, we are going to learn how to set up a REST API for our Web application quickly and very easily with NodeJs and the Express.js module.
First, let’s outline the design of a simple REST API, representing the operations we might have in a real Web application.
This translates to having an interest in performing CRUD operations (Create, Read, Update, Delete) on a data repository, which will typically be a database (MSSQL, MySQL, MariaDB, MongoDB), or any other (files, etc.)
To map each operation offered by our REST API, we use a combination of HTTP request types, URL parameters, Query parameters, and parameters in the request body.
The following table shows the functions available in our example REST API, their equivalent functions, and the parameters each request receives.
| Operation | Function | Request | Url | Parameters |
|---|---|---|---|---|
| URL | Query | Body | ||
| Read | GetAll | GET | ./item | |
| GetFiltered | GET | ./item?filter=ABC | Filter | |
| GetById | GET | ./item/id | Id | |
| Create | Add | POST | ./item | |
| Update | UpdateById | PATCH | ./item/id | Id |
| Replace | ReplaceById | PUT | ./item/id | Id |
| Delete | DeleteById | DELETE | ./item/id | Id |
Creating Our REST API
We create a folder within our projects folder and name it. Now we install the Express.js module. To do this, from the command console, we navigate to the directory we created earlier and type
npm install express
Once the installation of Express is finished, we create a new file that we will call, for example, App.js. Inside this file, we copy the following content
// Load modules and create new application
var express = require("express");
var cors = require('cors')
var app = express();
app.use(cors())

var bodyParser = require('body-parser');
app.use(bodyParser.json()); // support json encoded bodies
app.use(bodyParser.urlencoded({ extended: true })); // support encoded bodies

//GetAll
//Example: GET http://localhost:8080/item
app.get('/item', function(req, res, next) {
  if(req.query.filter) {
  next();
  return;
  }
  res.send('Get all');
  console.log('Get all');
});

//GetById
//Example: GET http://localhost:8080/item/10
app.get('/item/:id', function(req, res, next) {
  var itemId = req.params.id;
  res.send('Get ' + req.params.id);
  console.log('Get ' + req.params.id);
});

//GetFiltered
//Example: GET http://localhost:8080/item?filter=ABC
app.get('/item', function(req, res) {
  var filter = req.query.filter;
  res.send('Get filter ' + filter);
  console.log('Get filter ' + filter);
});

//Create
//Example: POST http://localhost:8080/item
app.post('/item', function(req, res) {
  var data = req.body.data;
  res.send('Add ' + data);
  console.log('Add ' + data);
});

//Replace
//Example: PUT http://localhost:8080/item/10
app.put('/item/:id', function(req, res) {
  var itemId = req.params.id;
  var data = req.body.data;
  res.send('Replace ' + itemId + ' with ' + data);
  console.log('Replace ' + itemId + ' with ' + data);
});

//Update
//Example: PATCH http://localhost:8080/item/10
app.patch('/item/:id', function(req, res) {
  var itemId = req.params.id;
  var data = req.body.data;
  res.send('Update ' + itemId + ' with ' + data);
  console.log('Update ' + itemId + ' with ' + data);
});

//Delete
//Example: DEL http://localhost:8080/item
app.delete('/item/:id', function(req, res) {
  var itemId = req.params.id;
  res.send('Delete ' + itemId);
  console.log('Delete ' + itemId);
});

var server = app.listen(8080, function () {
    console.log('Server is running..');
});
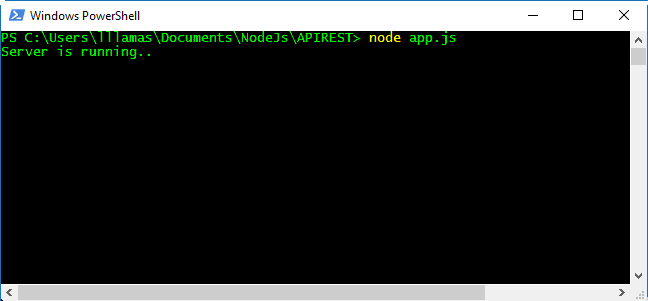
Finally, we run the application with the following command,
node App.js
And we check that it runs correctly.
Explaining Our REST API Code
Let’s explain the previous code. First, we loaded the necessary modules and created an Express application.
In the rest of the code, we are defining different routes for our application, according to the definition we made in the previous section.
In these functions, we use the ‘request’ object to obtain the parameters we passed to the API in the request. Depending on the type of request, we use the appropriate property (params, query or body).
On the other hand, we use the ‘response’ object to return the results to the client. In this example, we are simply returning a text informing that the corresponding request has been received correctly.
Obviously, this is a very simple example. In a real application, queries to a database, data operations, validations, etc., would be performed. But it is sufficient to show the fundamental aspects needed to create a REST API.
Finally, in the last block of code, we start the application by making it listen for requests on localhost, port 80.
Testing Our REST API
Time to test our example REST API. For this, we will use the Postman program. If you haven’t used Postman yet, we recommend you check out the post Postman, make HTTP requests and test your REST APIs.
For each request, we have the parameters used, and an image of the request in Postman (click on the image to enlarge), so you can test the example REST API yourself.
GetAll
It’s a simple GET request to the URL localhost:8080

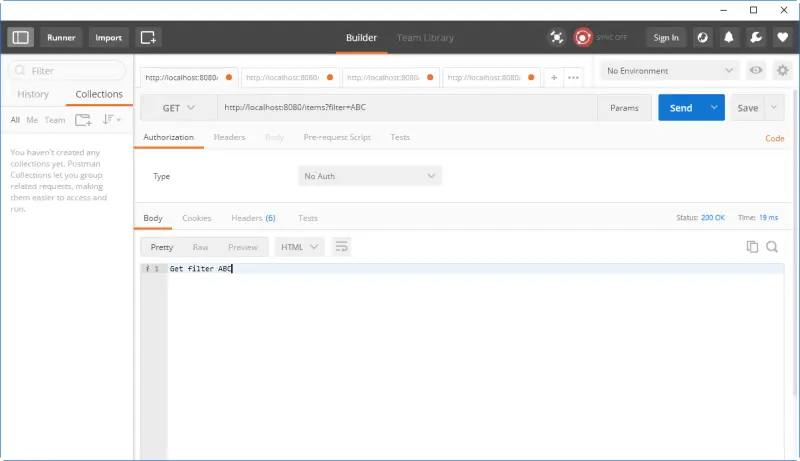
GetFiltered
GET request to localhost/item?filter=XXX:8080
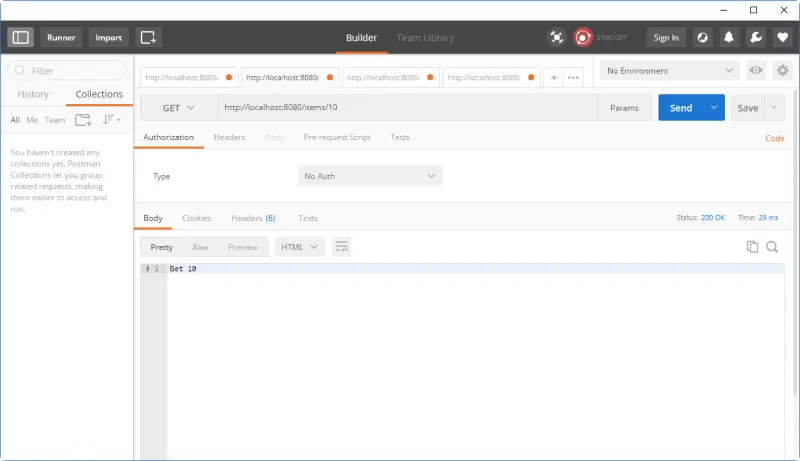
GetById
GET request to localhost/item/dd:8080
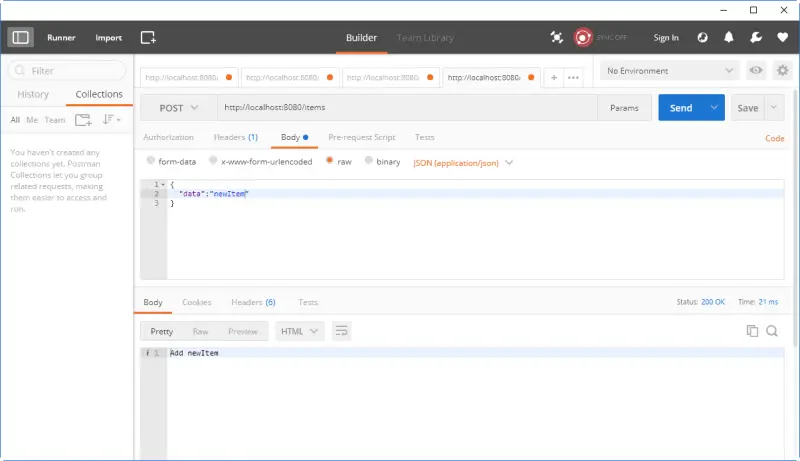
Add
POST request to localhost/item, and in the body we would pass an object encoded as Json. In the example, we simply send a text inside the “data” property. In a real application, we would send an object with the appropriate properties.
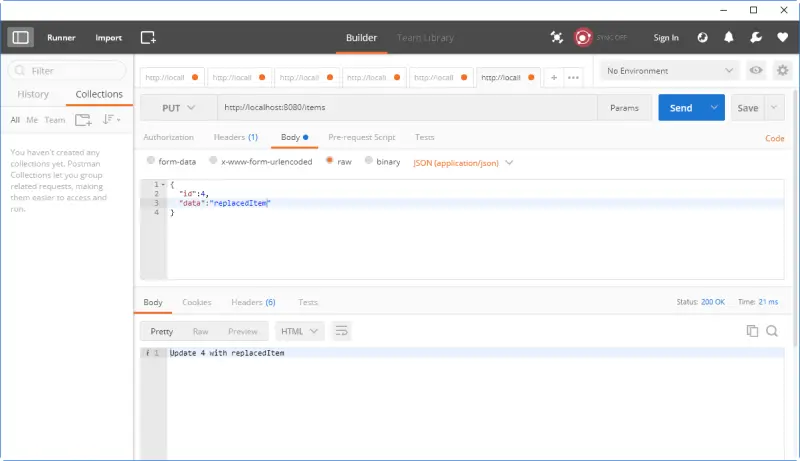
UpdateById
PUT request to localhost/item, and in the body we would pass the Id to replace and the object encoded as Json.
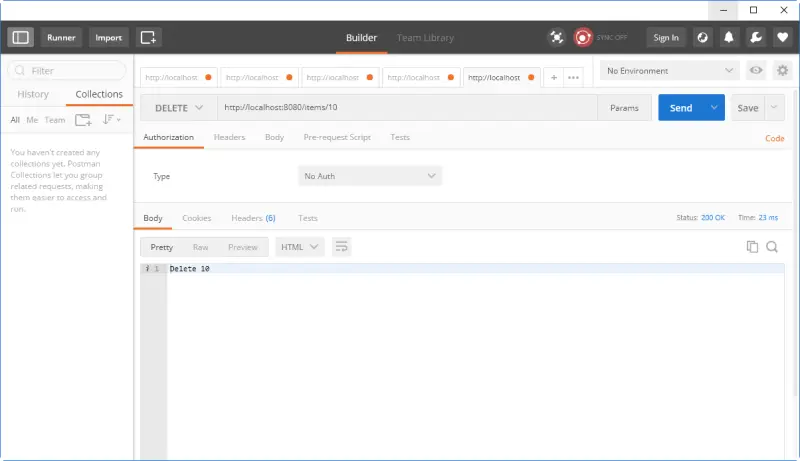
DeleteById
DELETE request to locahost/item/id
Download the Code
All the code from this post is available for download on Github 
